

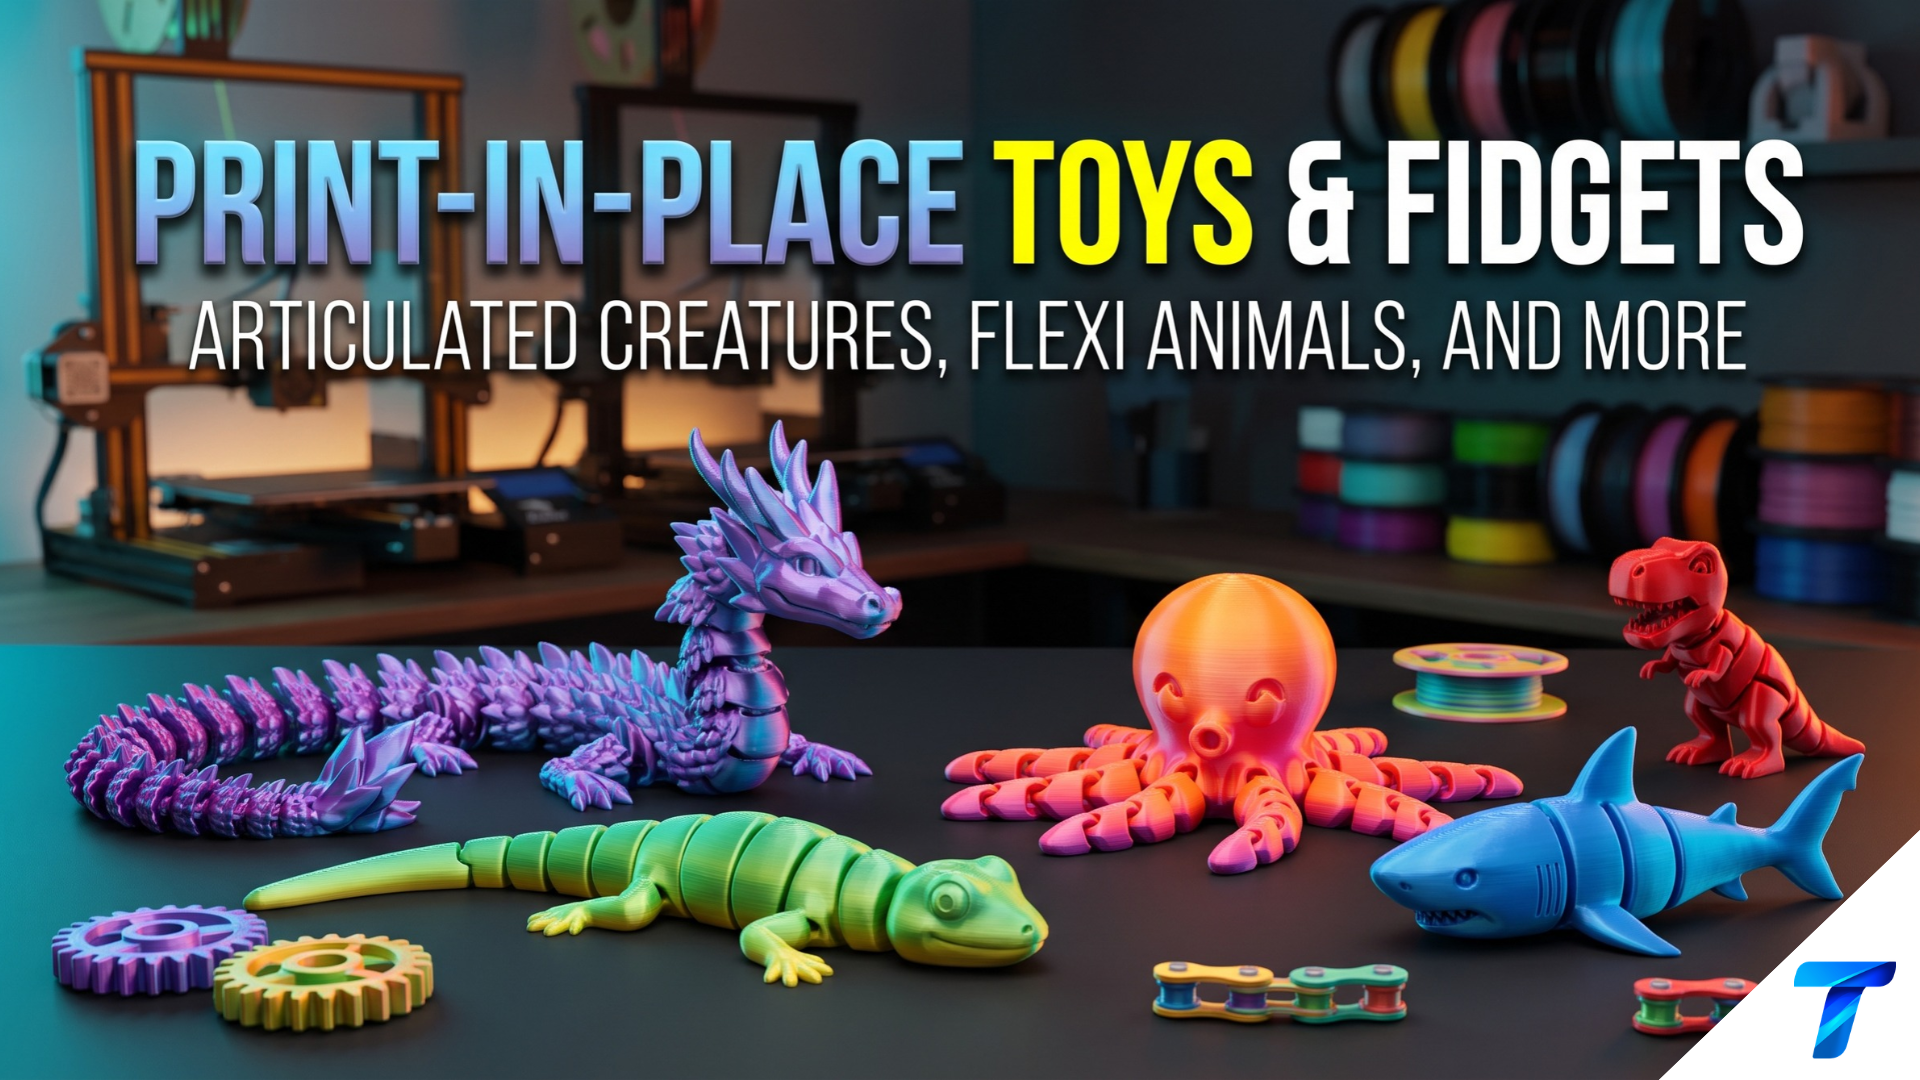

Print-in-place models come off the bed fully assembled. Joints flex, tails wiggle, and spines curl with no glue, screws, or supports. The trick is mechanical: every moving part prints with a tiny air gap that your printer can reliably reproduce. This guide covers the tolerances, settings, materials, and fixes that turn a fused lump into a working flexi dragon.
Quick Takeaways
- Clearance is everything. Aim for 0.3-0.4 mm gaps on a 0.4 mm nozzle, and 0.2-0.3 mm only on a well-tuned machine.
- PLA is the easiest material. PETG strings and fuses joints. TPU makes bendy toys but needs a different design.
- Slice with joints in mind. Use 0.2 mm layers, 100% part cooling, and elephant foot compensation so bottom-layer joints do not weld.
- Tune before you print big. A 10-minute clearance test saves a 10-hour failure.
What Are Print-in-Place Toys?
A print-in-place model is a multi-part mechanism printed as a single job. Each moving piece is separated from its neighbor by a designed clearance. When the print finishes, you snap or twist the joints free and the model moves.
Most designs fall into three mechanical families:
| Mechanism | How It Moves | Typical Models | Difficulty |
|---|---|---|---|
| Ball-and-socket | Sphere captured in a cup | Articulated dragons, octopuses, dinosaurs | Medium |
| Pin hinge | Cylinder through a bore | Flexi cats, fidget cubes, hinged boxes | Easy |
| Interlocking link chain | Overlapping segments slide | Flexi snakes, fish, worms | Easy-Medium |
Beginners should start with link-chain or pin-hinge models. Ball-and-socket joints need the tightest tuning because a sphere prints with steep overhangs underneath.
Why Joints Fuse (and How Clearance Prevents It)
Molten plastic spreads. Extruded lines swell slightly wider than the nozzle, the first layer squishes outward, and hot layers sag over gaps. Each effect eats into your clearance. If the gap shrinks to zero, the joint welds.
Three forces shrink your gap:
- Over-extrusion. Excess flow widens walls by 0.02-0.05 mm per side.
- Elephant foot. Bottom layers flare outward by 0.1-0.2 mm, closing joints at the bed.
- Overhang sag. Spheres and bridges droop where cooling lags.
Recommended Clearances by Nozzle
| Nozzle | Layer Height | Safe Clearance | Tight Clearance | Notes |
|---|---|---|---|---|
| 0.2 mm | 0.08-0.12 mm | 0.15-0.2 mm | 0.1 mm | Slow, great detail |
| 0.4 mm | 0.16-0.2 mm | 0.3-0.4 mm | 0.2-0.25 mm | Standard choice |
| 0.6 mm | 0.24-0.3 mm | 0.4-0.5 mm | 0.35 mm | Fast, chunkier toys |
If a design offers multiple tolerance variants, download the one that matches your nozzle. Do not scale a model after slicing, because scaling changes every gap proportionally.
Printer Prep Before You Print
Calibrate these four things first. They matter more than any slicer trick.
1. Level and First-Layer Height
A first layer squished too hard causes elephant foot. Tune your Z offset so the first layer is smooth but not translucent.
2. Flow Rate
Run a flow calibration and set your extrusion multiplier so walls measure the true nozzle width. Over-extrusion by even 3-5% can fuse tight joints.
3. Pressure Advance / Linear Advance
Corners and joint edges bulge when pressure is unmanaged. Add these to your start G-code, then tune the value for your filament.
Klipper:
SET_PRESSURE_ADVANCE ADVANCE=0.04 SMOOTH_TIME=0.04
Sets pressure advance to 0.04 s for direct drive. Bowden setups usually need higher values (0.3-1.0).
Marlin:
M900 K0.04
Sets the linear advance K-factor. Start at 0.04 for direct drive and adjust with a calibration pattern.
4. Dry Filament
Wet filament strings. Strings bridge across gaps and glue joints together. Dry PLA at 45-50°C for 4-6 hours and PETG at 60-65°C for 6-8 hours.
Best Slicer Settings for Print-in-Place Toys
These values work for PLA on a tuned 0.4 mm FDM printer. Adjust within the ranges.
| Setting | Recommended Value | Why It Matters |
|---|---|---|
| Layer height | 0.2 mm (0.16 mm for ball joints) | Finer layers smooth overhangs |
| Nozzle temp (PLA) | 200-210°C | Cooler plastic sags less |
| Bed temp (PLA) | 55-60°C | Prevents warping without extra squish |
| Outer wall speed | 40-60 mm/s | Better dimensional accuracy |
| Part cooling fan | 100% after layer 2 | Freezes overhangs quickly |
| Elephant foot compensation | 0.1-0.2 mm | Opens gaps at the bed |
| Retraction | 0.5-1 mm direct, 4-6 mm Bowden | Reduces strings across gaps |
| Travel speed | 150+ mm/s | Less oozing between joints |
| Supports | Off | Supports inside joints cannot be removed |
| Brim | None or 3 mm mouse-ear | Large brims can bridge joint gaps |
| Z-hop on retract | 0.2-0.4 mm | Avoids nozzle drag on joint edges |
Print-in-place overhangs are the biggest quality risk. Enable “Detect bridging perimeters” and “Slow down for overhangs” in your slicer. Keep minimum layer time around 8-10 seconds so small joints do not overheat.
Orientation Matters
Print flexi animals flat on the bed unless the designer says otherwise. Ball joints often stand vertically. Check the preview for dangling spheres. If the slicer shows sagging underside layers, lower the temperature by 5°C and increase cooling.
Material Comparison
| Material | Joint Reliability | Flex | Stringing Risk | Best For |
|---|---|---|---|---|
| PLA | High | Low (rigid) | Low | First attempts, display toys |
| PLA+ / Silk PLA | Medium-High | Low | Medium | Colorful flexi animals |
| PETG | Medium | Medium | High | Durable fidgets, outdoor use |
| ABS/ASA | Medium | Medium | Low | Heat-resistant toys, needs enclosure |
| TPU 95A | Variable | High | Medium | Bendy bodies, squishy fidgets |
Stick with plain PLA for your first flexi dragon. Silk and dual-color filaments often run hotter and flow more, which closes gaps. PETG welds layers more strongly, which sounds good until it welds your hinges.
Step-by-Step: Printing Your First Flexi Animal
- Choose a model with tolerance variants. Flexi animals with 0.3 mm clearance suit most machines.
- Dry your filament and clean the nozzle with a cold pull if you see strings.
- Run a clearance test. Print a hinge or chain segment (10-15 minutes) at your chosen settings.
- Slice with supports off and elephant foot compensation on.
- Print on a clean bed at 40-60 mm/s outer wall speed.
- Remove the print gently. Slide a thin spatula under it. Do not twist while it is attached.
- Break joints free. Hold two adjacent segments and flex them back and forth. Expect a snap or crunch. That is the gap releasing a thin film of plastic.
- Work every joint 10-20 times to smooth the surfaces.
If a joint refuses to move, do not force it. Warm it with a hair dryer for 10 seconds, or soak the model in 60°C water for 30 seconds (PLA softens around 55-60°C). Then flex gently.
Fidgets: Popular Types and Settings
Fidgets endure heavy handling, so wear resistance matters.
| Fidget Type | Mechanism | Recommended Clearance | Material Tip |
|---|---|---|---|
| Flexi chain / snake | Interlocking links | 0.3-0.4 mm | PLA, any color |
| Fidget cube | Hinged panels | 0.25-0.35 mm | PLA or PETG |
| Articulated worm | Pin hinges | 0.3 mm | PLA |
| Infinity cube | Multi-hinge loop | 0.3-0.4 mm | PLA, keep walls at 3 |
| Spinner / ring toy | Captured bearing-style ring | 0.4-0.5 mm | PETG for durability |
Use 3-4 perimeters (1.2-1.6 mm walls) for fidgets. Small parts with only two walls crack under repeated flexing. Set infill to 15-20% gyroid and let walls do the structural work.
Real-World Use Cases
Classroom STEM kits. Teachers print flexi animals to demonstrate kinematics, tolerances, and joint types. One print shows ball joints, hinges, and chains in a single object.
Print farm side income. Sellers batch-print flexi dragons and octopuses in silk PLA. A 20 cm articulated dragon takes about 5-8 hours and sells well at craft markets.
Prototyping real mechanisms. Engineers test hinge geometry and snap-fit clearances with fidget-style samples before committing to a final part. The same 0.3 mm rule applies to functional hinges.
Occupational therapy tools. Therapists use printed fidgets in different resistances. TPU chains offer gentle squeeze, while rigid PLA links give crisp tactile feedback.
Gifts and display pieces. Dual-color flexi animals with matching eyes and fins make strong desk toys. Print a single color if you want the cleanest joints.
Troubleshooting Table
| Problem | Likely Cause | Fix |
|---|---|---|
| Joints will not break free | Gap too small, over-extrusion | Raise clearance to 0.4 mm, lower flow by 3% |
| Bottom segments fused | Elephant foot | Set compensation to 0.15-0.2 mm, raise Z offset slightly |
| Strings between segments | Wet filament, high temp | Dry filament, drop temp 5-10°C, add retraction |
| Droopy sphere underside | Poor cooling | 100% fan, lower temp, slow bridge speed |
| Joints loose or rattling | Gap too large | Use tighter variant, lower retraction-related under-extrusion |
| Segments snap when flexed | Thin walls, brittle PLA | Add perimeters, try PLA+ or print slightly hotter |
| Layer shifts mid-print | Belt tension, speed | Reduce speed to 40 mm/s, check belts |
Design Tips If You Create Your Own
- Use 45° chamfers on joint undersides. Printers handle 45° overhangs without support.
- Keep gaps uniform. Vary clearance by less than 0.05 mm across the joint.
- Add stop geometry so joints cannot over-rotate and snap.
- Avoid sharp internal corners. Fillet them at 0.5 mm to reduce stress cracks.
- Test in slices. Export a small joint cross-section for calibration, and scale gaps from there.
FAQ
How big should the gap be for print-in-place joints?
Use 0.3-0.4 mm on a 0.4 mm nozzle for reliable results. Well-tuned printers can run 0.2-0.25 mm for tighter, less rattly joints. Smaller gaps need accurate flow, elephant foot compensation, and dry filament.
Why do my flexi animals fuse together?
Fusing comes from over-extrusion, elephant foot, hot printing, or sagging overhangs. Reduce flow by 3-5%, add 0.1-0.2 mm elephant foot compensation, drop nozzle temperature by 5°C, and use 100% cooling. Print a clearance test before the full model.
What filament is best for print-in-place toys?
Plain PLA is the best choice for most people. It cools quickly, strings little, and holds tight gaps. PETG works for durable fidgets but strings and welds joints. TPU suits soft, bendy models, but only if the design is made for flexible filament.
Can I print flexi animals without supports?
Yes. Properly designed print-in-place models need no supports. They use 45° overhangs and short bridges instead. Supports placed inside joints cannot be removed and will lock the mechanism.


