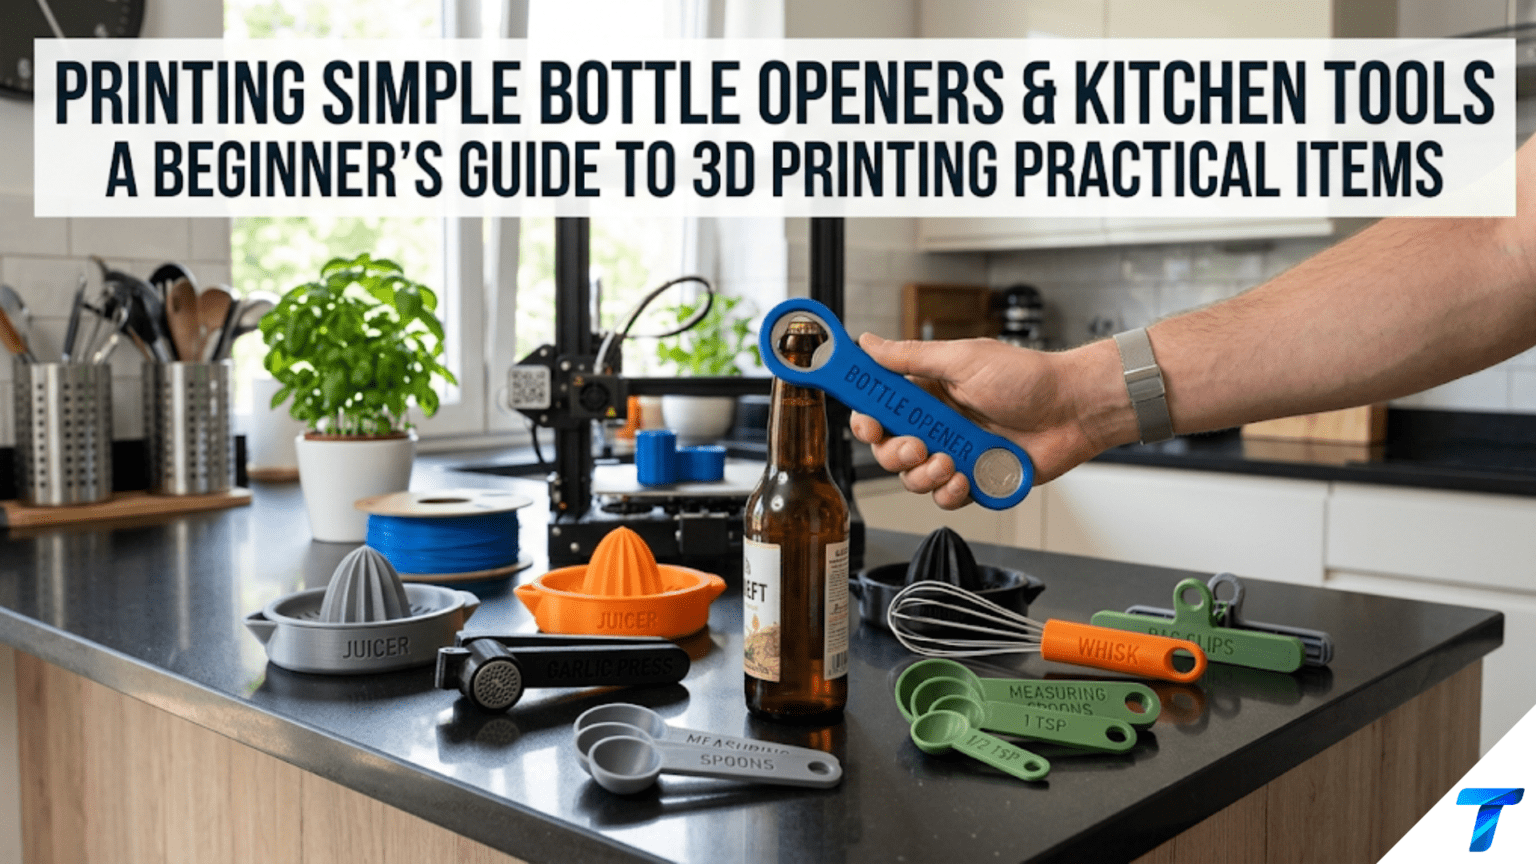
3D printed bottle openers and kitchen tools are functional household items produced on a home FDM printer — from simple lever-style bottle openers and bag clips to egg separators, herb strippers, and custom kitchen gadgets. They represent one of the most practically rewarding categories of beginner printing because they produce objects that get used daily, introduce the critical concepts of food-safe material selection and functional strength requirements, and demonstrate that a 3D printer can solve real kitchen problems that commercial products address only approximately.
Introduction: The Kitchen as a Design Laboratory
Of all the rooms in a home, the kitchen may be the most fertile ground for 3D printing projects. It is a room defined by tools — specialized implements designed for specific tasks, each with requirements of shape, size, strength, and material that are precisely determined by the job they do. And it is a room where the mismatch between what commercial products offer and what any specific household actually needs is constantly felt.
The bag clip that’s never quite the right size for the specific package you need to seal. The herb stripper that works for one stem diameter but not another. The bottle opener that’s too bulky for the drawer but too small for a confident grip. The custom-sized measuring tool that would make a specific recipe foolproof but doesn’t exist commercially at the right dimensions.
Your 3D printer can address all of these. And the process of addressing them — designing or finding a bottle opener that fits your hand and your drawer, printing it in the right material, testing it against a real bottle cap — teaches some of the most important concepts in functional 3D printing: the relationship between material choice and safety, the engineering of force-application geometry, the design of functional surfaces that do real mechanical work.
This guide covers the full range of simple kitchen tool printing: the food safety framework that must come first, the specific tools worth printing and why, design considerations for tools that do real mechanical work, material selection for kitchen environments, slicer settings for functional kitchen items, finishing and safety considerations, and a range of creative kitchen projects that demonstrate what your printer can do for the space where food is made.
Food Safety: The Essential Framework
Before any kitchen tool project, food safety must be addressed honestly and thoroughly. This is not a box-checking exercise — it is the fundamental consideration that determines whether a printed object is appropriate for kitchen use.
Why FDM Printing Has Food Safety Limitations
FDM-printed objects are not inherently food-safe, for reasons that are important to understand:
Layer lines create surface topography that harbors bacteria. The ridges and valleys between layers are microscopic grooves that are impossible to clean thoroughly with ordinary washing. Bacteria accumulate in these spaces and can survive normal hand-washing. This is why food-contact surfaces in commercial kitchens must be smooth — the same principle applies to printed tools.
Most filament materials are not certified for food contact. Food-safe certification (FDA food-contact compliance in the US, EU food contact regulations in Europe) requires testing that consumer filament manufacturers generally do not perform. The base polymers may be food-safe, but the colorants, stabilizers, and processing aids added to produce functional filaments may not be.
ABS contains potentially harmful substances. ABS filament contains styrene, which can leach into food. Never use ABS for food-contact kitchen tools.
Layer interfaces can harbor contaminants. Even with thorough cleaning, the interfaces between layers can absorb moisture, oils, and food residue over time.
The Practical Food Safety Framework
Given these limitations, here is a practical framework for kitchen tool printing:
Category 1 — No food contact (safe for any material): Tools that never touch food — jar openers that grip the jar lid from outside, bottle openers that contact only the metal cap, drawer organizers for utensils, shelf holders for kitchen equipment. These can be printed in any appropriate material without food safety concerns.
Category 2 — Brief, incidental food contact (use food-safe PETG + sealing): Tools that briefly contact food in a non-critical way — egg separators, herb strippers, citrus squeezers. Use food-safe PETG (from manufacturers who provide food-contact documentation), print with maximum density settings to minimize surface porosity, seal the surface with an FDA-approved food-safe coating, and replace regularly.
Category 3 — Direct sustained food contact (not recommended for FDM): Cutting boards, spatulas used in hot pans, items soaked in food liquids. The surface porosity and potential chemical leaching concerns make FDM printing inappropriate for sustained food-contact applications. Commercial food-safe alternatives are inexpensive and purpose-designed for these applications.
The practical guidance: Most kitchen printing projects worth attempting fall into Category 1 (tools that contact only packaging, lids, or handles but not food directly) or can be designed to avoid food contact. For Category 2 applications, use the best available food-safe materials and approach with appropriate caution.
Best Materials for Kitchen Use
| Material | Food Safety | Heat Resistance | Kitchen Suitability |
|---|---|---|---|
| PLA | Not recommended for food contact | Poor (60°C) | Non-food-contact tools only |
| PETG | Acceptable with care | Good (80°C) | Category 2 with food-safe variant and sealing |
| Food-safe PETG | Better | Good (80°C) | Category 2; use with sealing for best results |
| ABS | Not recommended | Good (105°C) | Not for kitchen use (styrene concerns) |
| ASA | Acceptable | Excellent (100°C) | Non-food-contact; excellent for outdoor kitchen tools |
| Nylon | Acceptable | Good (85°C) | Better chemical resistance; absorbs moisture |
| Food-safe PLA | Acceptable with limits | Poor | Better than standard PLA but heat remains a concern |
| TPU | Acceptable | Good | Good for grips and flexible kitchen tools; no sustained hot food contact |
Bottle Openers: The Classic Kitchen Print
The bottle opener is one of the most printed kitchen tools in the 3D printing community — and for good reason. It is geometrically simple, requires no food contact (it touches only the metal bottle cap and the glass rim), can be printed in standard PETG or PLA without food safety concerns, and provides genuinely useful mechanical function from a small amount of material.
How a Bottle Opener Works
A lever-style bottle opener works on a simple principle: a fulcrum point rests on the bottle rim, a hook catches under the bottle cap edge, and lever force applied to the handle creates a mechanical advantage that pops the cap free. The ratio of handle length to fulcrum-to-hook distance determines the mechanical advantage — longer handles require less force.
For a printed bottle opener to work reliably, several geometric requirements must be met:
Hook geometry: The hook must have the right profile to engage under the standard bottle cap edge (approximately 2.5–3mm below the top of the cap lip). The hook opening must be wide enough to accept the cap (standard caps are approximately 32–33mm diameter) but not so wide that it slips off during prying.
Fulcrum position and geometry: The fulcrum point where the opener contacts the bottle rim must be positioned correctly relative to the hook. Standard bottle rim diameter is approximately 28mm at the contact point.
Material strength: The opener experiences significant bending loads during use — the lever force is concentrated at the hook-cap interface. PETG or Nylon is recommended over PLA for better toughness and reduced brittleness.
Handle length and geometry: Longer handles provide more mechanical advantage (less force required) but are bulkier. A handle of 80–120mm is practical for most uses.
Standard Bottle Opener Dimensions
| Feature | Recommended Dimension | Notes |
|---|---|---|
| Hook opening width | 34–36mm | Must clear standard 32–33mm cap |
| Hook depth | 3mm | Catches under cap lip |
| Fulcrum to hook distance | 28–32mm | Matches bottle rim diameter |
| Handle length | 80–120mm | Longer = more mechanical advantage |
| Overall thickness | 5–8mm | Thicker = stronger but heavier |
| Minimum wall at hook | 4mm | Critical stress point — must not crack |
Types of Printed Bottle Openers
Flat lever opener: The classic shape — a flat piece with a hook at one end and a handle at the other. Simple to print flat on the bed, strong in the plane of the opener. This is the most printable and most reliable design.
Tab top opener: Designed specifically for pull-tab cans rather than bottle caps. A slightly different hook geometry engages under pull tabs for hands with limited dexterity or when tabs are difficult to grip.
Keychain opener: A small, compact opener sized to attach to a keyring. Requires careful design to maintain adequate wall thickness at the hook despite the small scale.
Handle-integrated opener: A bottle opener with an ergonomic handle designed for a specific hand grip — wide grip for large hands, narrower for smaller hands. The handle can incorporate texture for improved grip.
Custom branded/personalized opener: A flat opener with a name, logo, or message embossed or debossed on the handle face. Popular as gifts, promotional items, and personalizing a home bar setup.
Print Orientation for Bottle Openers
Print orientation determines strength at the critical stress point — the hook.
Flat on the bed (recommended): The opener lies flat with its largest face on the build plate. The layer lines run parallel to the length of the opener. When force is applied at the hook during opening, the stress at the hook cross-section runs parallel to the layer lines — the strong direction. This is the recommended orientation.
On edge: The opener stands on its side with the thin edge on the bed. Prints more slowly, may require support, but the layer lines in this orientation run through the thickness of the opener. Less suitable because the hook stress runs perpendicular to layers.
Upright: Standing on the handle end. Layer lines run the length of the opener. The hook stress runs parallel to layers — similar to flat orientation but requires more support and produces a less clean hook geometry.
The recommendation: Print flat on the bed. This is the orientation that produces the cleanest geometry, requires no support, and is strongest at the critical hook stress point.
Other Kitchen Tools Worth Printing
Bag Clips
Bag clips keep opened food packages sealed — cereal bags, coffee bags, chip bags, pasta packages. They are among the most useful kitchen prints because:
- Commercial bag clips are often the wrong size for specific bags
- They are geometrically simple (a clip with a spring mechanism or pinch action)
- They require no food contact (they grip the outside of packaging)
- They can be sized precisely for specific package widths
Design considerations:
- Spring-style clip: Two flat arms connected by a spring section at one end. Squeezing the end opens the clip; releasing clamps it shut. The spring section is a printed flex zone — thin enough to flex but thick enough not to fatigue crack. Use PETG for this application; PLA’s brittleness causes fatigue failure in the flex zone after repeated use.
- Slider clip: A sliding mechanism where a ring slides down two parallel arms to clamp them together. Simpler than a spring clip but requires the slider to fit precisely on the arms.
- Size range: Print clips in 2–3 widths: small (30–40mm jaw width for thin bags), medium (50–60mm for standard packages), large (80–100mm for wide cereal bags).
Herb Stripper
A flat plate with progressively sized holes that strips herb leaves from their stems — pull the stem through the appropriate hole and the leaves strip off cleanly. This tool is a Category 2 food contact item (leaves briefly contact the printed surface) — use food-safe PETG and keep it clean.
Design: A flat plate approximately 100mm × 60mm × 4mm with 5–7 holes of progressive diameter (4mm, 6mm, 8mm, 10mm, 12mm, 15mm, 20mm) to accommodate herbs from thyme and rosemary (thin stems) through parsley and cilantro to kale and chard (thick stems). Round all edges to prevent herb damage and ensure comfortable hand use.
Food safety note: The herb stripper briefly contacts food (herb leaves). Use food-safe PETG, print with maximum top/bottom layers to minimize surface porosity, and wash thoroughly after each use. Replace annually if regular use causes visible surface wear.
Citrus Juicer / Reamer
A ridged cone that presses into halved citrus fruit to extract juice. This is a Category 2 food contact item requiring food-safe material. The ridged cone geometry is simple and prints without support when oriented point-up.
Design: A cone approximately 60mm diameter at base, tapering to a point over 70mm height. Ridges spiraling up the cone surface help extract juice efficiently. A handle at the base (can be a simple disk or an ergonomic grip) completes the piece.
Food safety: This tool is in sustained contact with citrus juice during use. Use food-safe PETG. Clean immediately after use. The acidic nature of citrus juice makes surface sealing with a food-safe coating especially worth considering.
Kitchen Timer Holder / Utensil Rest
Non-food-contact kitchen accessories that organize the cooking space:
Utensil rest: A flat or slightly concave rest that holds a cooking spoon, ladle, or spatula during use, preventing drips on the counter. Shaped with a curved bowl to catch drips. Print in PETG for better heat resistance (cooking utensils can be warm). This tool contacts the handle of a utensil rather than food directly.
Kitchen timer or phone stand: A stand for a phone or kitchen timer at counter height, angled for easy viewing while cooking. Print in ASA or high-temp PLA for heat resistance near cooking appliances.
Spice funnel: A small funnel shaped to fit into standard spice jar openings, allowing easy refilling from larger containers. Brief incidental contact with dry spices — use food-safe material.
Custom Measuring Tools
Custom measuring tools occupy a unique space in kitchen printing — they contact dry ingredients (Category 2 at most) and solve a specific problem that commercial measuring sets address only approximately.
Odd-size measuring spoons: Commercial sets offer tablespoon, teaspoon, half-teaspoon, and quarter-teaspoon. But recipes sometimes call for ⅔ tablespoon, ¾ teaspoon, or other non-standard measures. A custom measuring spoon in exactly the needed size is trivially designed in Tinkercad — a bowl on a handle, with the bowl volume calculated for the needed measurement.
Volume calculation for measuring spoon design: 1 teaspoon = 4.93ml; 1 tablespoon = 14.79ml. For a hemispherical bowl of radius r, volume = (2/3)πr³. For a teaspoon bowl (4.93ml = 4930mm³): r = cube root(4930 × 3 / (2π)) = approximately 13mm. Bowl diameter ≈ 26mm for a 1-teaspoon measuring spoon.
Measuring cup calibration marks: A printed cup with embossed measurement markings at specific heights. The calibration requires accurate volume calculation for the cup’s geometry.
Jar Opener Grip
A flat ring or pad with textured or ribbed surface that grips jar lids for improved twisting force. Completely non-food-contact (grips the metal lid exterior). Print in TPU for maximum grip — the flexible material conforms to the lid surface and provides excellent friction.
Design: A flat ring 80–100mm diameter, 8–12mm thick, with a textured or knurled outer surface for hand grip and a flat inner face for lid contact. Alternatively, a solid disk with the same dimensions. TPU at 87A–95A hardness provides the best grip characteristics.
Slicer Settings for Kitchen Tools
Kitchen tools require settings that prioritize strength and surface quality appropriate for handling and light food contact.
| Setting | Bottle Opener | Bag Clips | Food-Contact Tools |
|---|---|---|---|
| Layer Height | 0.2mm | 0.15mm | 0.15mm |
| Print Speed | 40–50 mm/s | 35–45 mm/s | 35–45 mm/s |
| Perimeters/Walls | 4–5 | 3–4 | 5–6 |
| Infill | 40–50% | 25–30% | 50–60% |
| Infill Pattern | Gyroid | Grid | Gyroid |
| Top/Bottom Layers | 4–5 | 4–5 | 6–8 |
| Support | None (flat) | None | None |
| Cooling | 80–90% PETG | 100% | 80–90% PETG |
| Temperature (PETG) | 235–242°C | 232–238°C | 240–245°C |
Why High Infill Matters for Food-Contact Tools
For any tool with potential food contact, higher infill significantly reduces surface porosity in two ways. First, a denser infill structure supports the top layers better, producing a flatter, more completely fused top surface. Second, higher infill increases the overall density of the part, reducing the volume of internal voids where moisture and bacteria could accumulate if the outer surface is breached.
For the most food-safe possible FDM print (within the inherent limitations of the technology), use 60%+ infill with 6–8 top and bottom layers and the highest temperature that doesn’t compromise surface quality.
Higher Top/Bottom Layers for Food Contact Surfaces
The top and bottom surfaces of a print are where food actually contacts the object. Increasing top layers from the standard 4–5 to 6–8 means more passes of material covering the surface, resulting in a denser, less porous top surface. Combined with a slow top layer speed (25–30 mm/s) and slightly elevated temperature for better layer fusion, this produces the cleanest possible FDM food-contact surface.
Post-Processing Kitchen Tools
Post-processing kitchen tools requires different considerations than decorative objects.
Removing Sharp Edges
All kitchen tools should have sharp edges removed before use. A bottle opener with a sharp edge on the handle can cut a hand during vigorous use. An herb stripper with sharp hole edges damages herb leaves and can scratch hands.
Use a fine file, sandpaper (220-grit), or the tip of a craft knife to break all sharp edges, especially around functional openings and along hand-contact surfaces.
Sealing for Food-Contact Surfaces
For Category 2 food-contact tools printed in food-safe PETG, applying a food-safe sealant significantly improves the food safety profile by filling the microscopic surface porosity:
Food-safe epoxy coating: Products like ArtResin (FDA-compliant) can be applied in a thin coat, allowed to cure fully, and produce a smooth, non-porous surface. Application requires mixing and spreading the two-part epoxy, which takes about 30 minutes of work time.
Food-safe varnish: Some woodworking food-safe varnishes (specifically those rated for food contact, such as certain FDA-compliant polyurethane formulations) can be applied to PETG surfaces. Multiple thin coats with sanding between coats produces a smooth, food-safe barrier.
Important: Many “food safe” sealants become food-safe only after full cure. Follow manufacturer guidance on cure time before using any sealed tool with food. Typically 24–72 hours of full cure is required.
Washing Kitchen Tools
Printed kitchen tools should be hand-washed in warm soapy water — not put in the dishwasher. Dishwasher temperatures can exceed the heat distortion temperature of PLA and some PETG formulations, causing deformation. The high-pressure water jets of a dishwasher can also force water into layer interfaces, potentially causing delamination over time.
Hand wash with dish soap, dry thoroughly, and store in a well-ventilated location. Do not allow printed kitchen tools to remain wet for extended periods.
Step-by-Step: Printing a Custom Bottle Opener
Let’s walk through the complete process of printing a personalized bottle opener as a practical gift.
Step 1: Choose or Design the File
For a first bottle opener, find a well-reviewed design on Printables.com or Thingiverse. Search “bottle opener” and look for designs with positive user feedback, photos of actual use, and dimensions specified. Verify that the hook dimensions match standard bottle caps (look for a hook opening of 34–36mm and a handle of at least 80mm).
For a personalized opener, search “customizable bottle opener” on Thingiverse Customizer or design your own in Tinkercad following the dimensions table above.
Step 2: Choose Material
For a bottle opener (no food contact), PETG is recommended:
- Better toughness than PLA under the prying forces
- Better heat resistance (can be left in a warm car without deforming)
- Good impact resistance if dropped
Choose a color: black and dark grey look professional and masculine; bright colors are fun for outdoor/party use; metallic PETG has a premium appearance.
Step 3: Slice with Strength Settings
Apply settings for a bottle opener:
- Orient flat on the build plate
- 0.2mm layer height
- 5 perimeters
- 45% Gyroid infill
- 4 top and bottom layers
- 0.2mm brim (small brim, or none if the opener has a wide base)
- PETG at 238°C nozzle, 80°C bed
- 85% cooling
Step 4: Print and Inspect
Watch the first few layers to ensure good bed adhesion. Total print time for a standard opener: 20–40 minutes.
After printing, inspect:
- Hook profile is clean with no layer artifacts at the functional edge
- Handle has no delamination or weak spots
- No stringing across the hook opening
Step 5: Post-Process
- Remove any brim material
- File or sand any sharp edges on the handle and around the hook opening
- Test the hook geometry: the hook should engage smoothly under a bottle cap during dry testing
Step 6: Test Function
Test the opener on an actual bottle. The opener should:
- Hook securely under the cap on the first attempt
- Open the bottle with comfortable lever force (if excessive force is required, the opener’s dimensions may be off)
- Release cleanly after the cap is removed
If the opener works, it’s ready to use or give. If the hook slips or requires excessive force, measure the hook opening and adjust by ±1mm and reprint.
Adding Personalization
For a personalized gift opener, add the recipient’s name or a short message debossed on the handle face. Apply contrasting paint to the text recesses using the contrast enhancement technique from the sign-making articles. Finish with a coat of clear matte spray.
Creative Kitchen Tool Projects
Avocado Saver
A half-sphere shaped to press over the cut face of half an avocado, keeping it from browning. The dome shape conforms to the avocado surface and the seal reduces air contact. Made in food-safe PETG, sealed, this is a practical Category 2 tool.
Adjustable Dough Roller Guide
Two identical cylindrical guides that sit alongside a rolling pin, limiting how thin dough can be rolled. Print them in matched pairs at different heights (4mm, 6mm, 8mm, 10mm) for different dough thicknesses. These contact the counter surface and the rolling pin, not the dough directly.
Bag Sealing Clip Set
A graduated set of bag clips in 4 widths (30mm, 50mm, 70mm, 100mm) covering the full range of common food packaging from small spice bags to wide cereal boxes. Print all 4 sizes in a single session in PETG — a complete set that replaces the random assortment of inadequate commercial clips that accumulate in every kitchen drawer.
Sink Caddy
A drain rack or sink caddy for holding a sponge, dish brush, and soap — the items that currently pile up next to the sink in disorganized fashion. Completely non-food-contact (holds tools, not food). Print in PETG for moisture resistance. Add drain holes to prevent water accumulation.
Timer and Recipe Stand
A countertop stand for a phone or tablet displaying a recipe, sized for the specific device being used and angled for comfortable reading at kitchen counter height (slightly steeper than a desk stand). Print in PETG or ASA for the heat-adjacent kitchen environment.
Silicone Mold Master for Candy Making
A positive-relief pattern (letters, shapes, designs) printed in PLA and used to create a silicone mold — the printed piece is pressed into food-safe silicone putty to create a negative mold, which is then used for candy, chocolate, or ice cube making. The printed object never contacts food directly; only the silicone mold (which is food-safe) does. This is an elegant approach that gets kitchen utility from printed objects while maintaining food safety.
Troubleshooting Common Kitchen Tool Issues
Bottle Opener Hook Slips Off Cap During Opening
Cause: Hook opening is too wide, hook depth is too shallow, or hook geometry doesn’t match the specific bottle cap profile.
Solution: Reduce hook opening to 33–34mm (tighter engagement). Increase hook depth to 3.5mm. Print at higher infill to ensure the hook geometry is fully dense. Test with multiple bottle types — some caps have slightly different profiles.
Bottle Opener Cracks at the Hook During Use
Cause: Insufficient wall thickness at the hook, wrong material (PLA instead of PETG), poor layer adhesion from low print temperature.
Solution: Switch to PETG for better toughness. Increase wall thickness at the hook to minimum 5mm. Increase infill to 50%. Increase print temperature by 5°C for better layer fusion. Ensure print is oriented flat on the bed (strongest orientation for hook stress).
Bag Clip Spring Section Breaks After a Few Uses
Cause: PLA brittleness in the flex zone; flex zone too thin causing over-stress; too many flex cycles concentrating fatigue at one point.
Solution: Switch to PETG — essential for bag clips. Increase flex zone thickness slightly (from 0.8mm to 1.0mm). Ensure the flex zone is printed with at least 3 perimeters at this thickness. Add a gentle radius at the flex zone transition (not a sharp step).
Food-Contact Tool Surfaces Look Rough Even at Fine Settings
Cause: FDM layer lines are an inherent surface texture that creates micro-porosity regardless of settings.
Solution: Sand with 400-grit then 600-grit for the smoothest achievable FDM surface. Apply food-safe epoxy or varnish coating for a genuinely smooth, non-porous surface. Understand that FDM printed surfaces, even with best efforts, have inherent porosity compared to injection-molded food-contact items — use accordingly.
PETG Sticking to Build Plate and Tearing When Removed
Cause: PETG adheres too aggressively to PEI or glass surfaces at high bed temperatures.
Solution: Reduce bed temperature to 70–75°C for PETG. Use a release agent (thin layer of glue stick or IPA on PEI). Allow the part to cool fully before attempting removal — PETG releases much more easily at room temperature. Use a flexible spring steel sheet if available — flexing the sheet releases PETG parts cleanly.
Conclusion: The Printer That Equips Your Kitchen
The kitchen is where most people spend a significant portion of their waking hours — cooking, preparing, cleaning, organizing. The tools in this space matter. The right tool makes a task easier, safer, and more pleasant. The wrong tool — the one that almost works but doesn’t quite — makes every interaction with it a small frustration.
Your printer can make the right tools. Not the generic tools that almost work for almost everyone, but the specific tools that work for your kitchen, your hand size, your specific bottles, your specific spice bags, your specific recipe card holder.
The bottle opener project is where this begins. It teaches you the material selection discipline that applies to all kitchen tools, the strength-oriented print settings that produce reliable functional parts, and the satisfaction of making something that works every time because it was designed to work for your specific use case.
From the bottle opener, the kitchen expands: bag clips, herb strippers, jar grippers, measuring tools, countertop organizers. Each one a small improvement to a space that deserves to work well.
Print something useful for your kitchen. Use it. Notice how differently it feels to use something made specifically for the problem it solves.
That’s the kitchen your printer is helping you build.