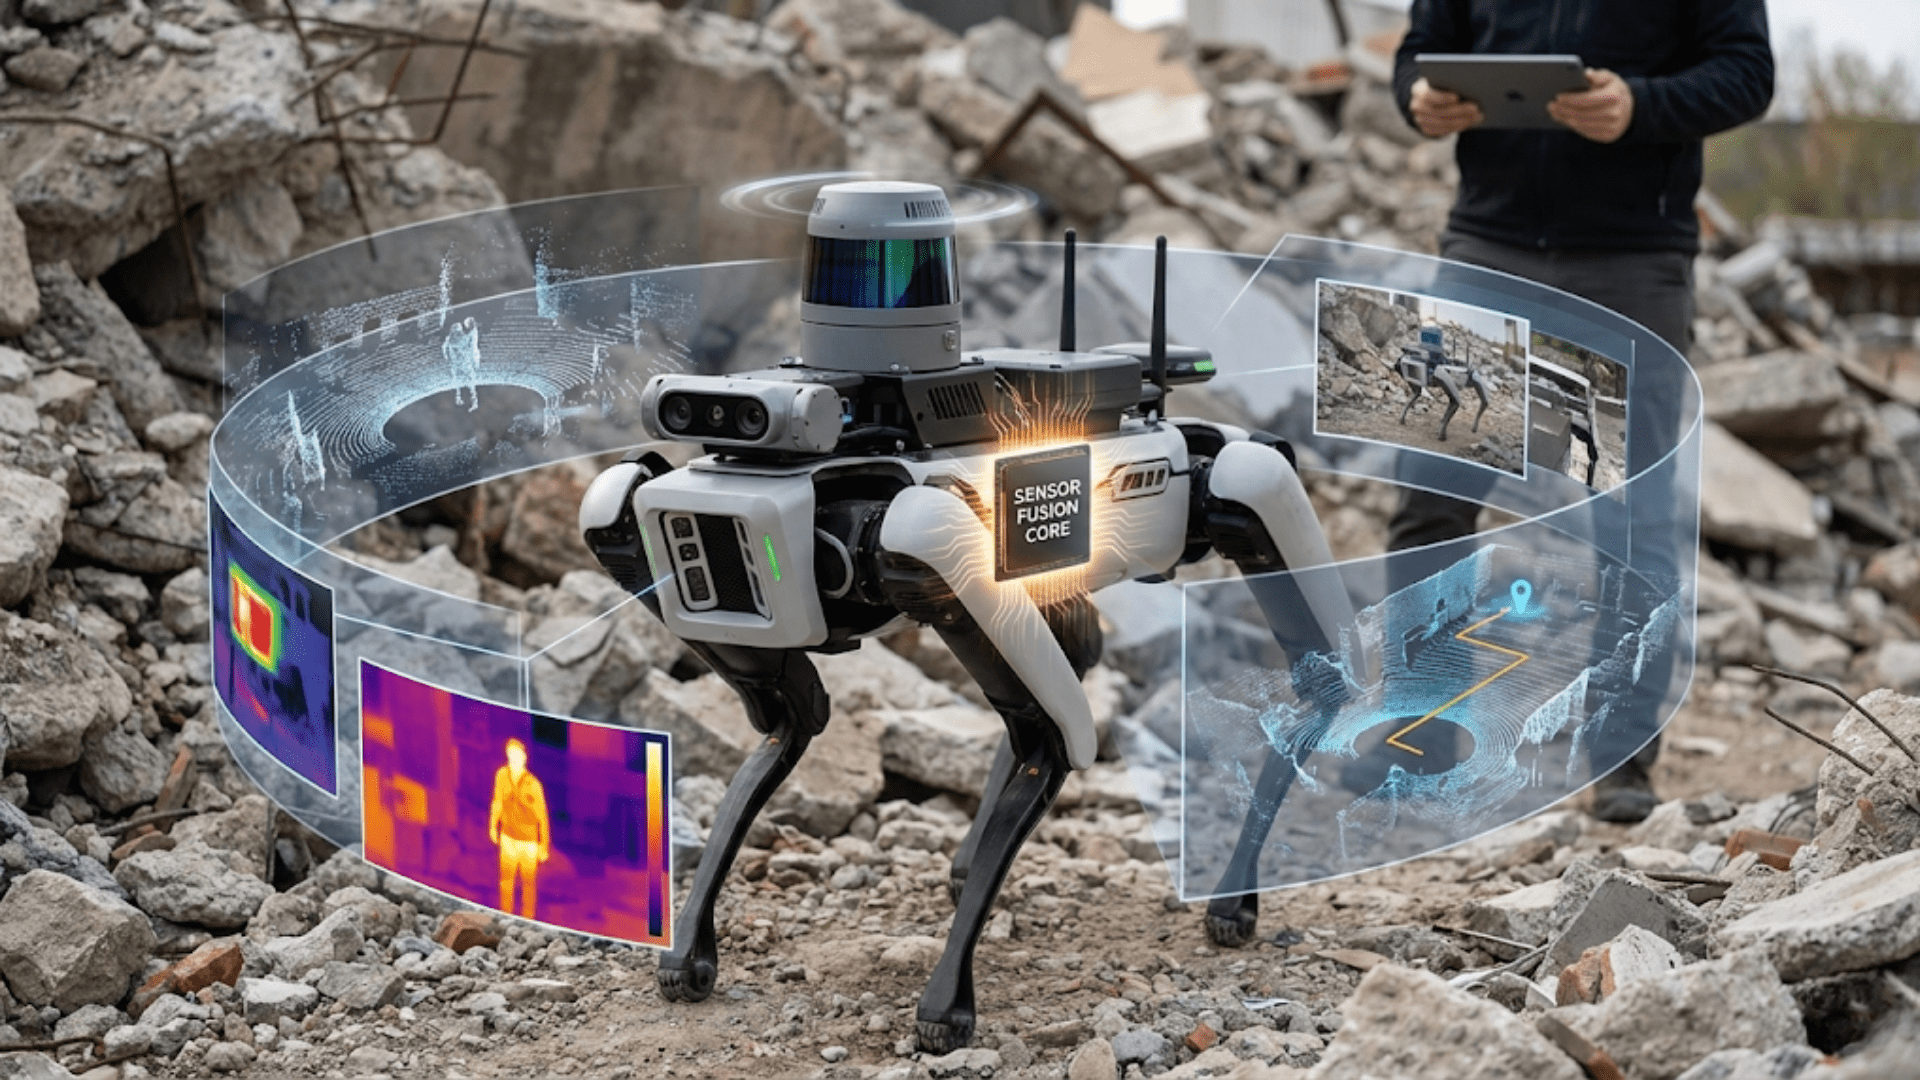
Introduction
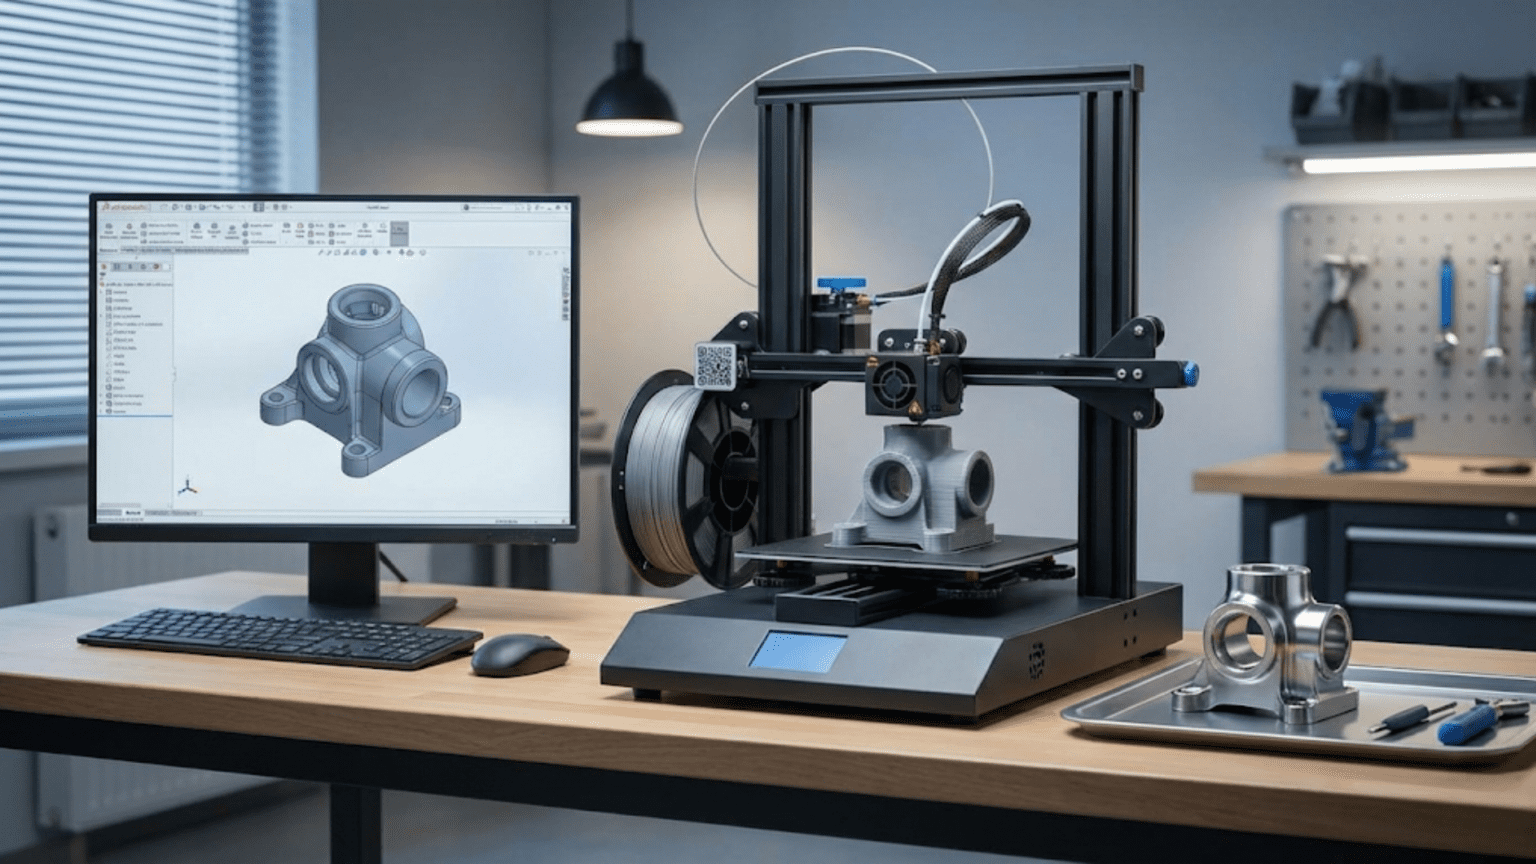
The transformation of a digital concept into a physical object through three-dimensional printing might appear almost magical when observed from the outside, with solid plastic forms seemingly materializing from thin air as the printer hums through its operations. However, this transformation actually involves a well-defined sequence of steps that bridge the digital and physical worlds through careful preparation, processing, and execution. Understanding this workflow from beginning to end demystifies the technology and reveals where human decision-making influences outcomes and where potential problems might arise.
The complete workflow spans from the initial creation or acquisition of a three-dimensional digital model through preparing that model for printing, configuring the printing process through slicing software, executing the physical build, and finally post-processing the completed print to achieve the desired final state. Each stage involves specific considerations, potential pitfalls, and opportunities for optimization that significantly affect whether prints succeed or fail and how well the final results meet expectations.
Unlike pressing a button and receiving immediate output, successful 3D printing requires active engagement with multiple stages of the process. You must ensure the digital model is suitable for printing, make informed decisions about dozens of parameters that affect how the printer builds the object, monitor the print to catch problems early, and often perform finishing operations after the print completes. This involvement provides control over the outcome but also demands understanding of what happens at each stage and how choices made early in the workflow ripple through subsequent steps.
Different printing technologies follow variations of this basic workflow with technology-specific requirements at various stages. FDM printing requires attention to support structures and bed adhesion. Resin printing demands careful post-processing with washing and curing. Powder bed fusion involves powder management and extended cooling periods. Yet the fundamental pattern remains consistent: obtain or create a model, prepare it for manufacturing, execute the build, and finish the part. Mastering this workflow for any additive technology starts with understanding these universal stages before specializing in technology-specific nuances.
This comprehensive guide will walk through each stage of the 3D printing workflow in detail, explaining what happens at each step, what decisions must be made, what can go wrong, and how to optimize results. You will learn how digital models must be structured for successful printing, what the slicing process accomplishes and how to configure it effectively, what to watch for during printing, and what post-processing operations transform as-printed parts into finished products. Whether you are preparing to print your first object or seeking to improve results from existing equipment, understanding this complete workflow provides the foundation for consistent successful printing.
Stage One: Obtaining or Creating the Digital Model
Every physical 3D print begins its existence as a digital three-dimensional model that describes the object’s geometry with mathematical precision. This digital model serves as the blueprint from which all subsequent operations derive, making its quality and characteristics critical to ultimate success. The model can come from three sources: designing it yourself using CAD software, downloading existing models from online repositories, or digitizing physical objects through 3D scanning.
Creating original models requires learning computer-aided design software that allows constructing three-dimensional geometry through various approaches. Parametric CAD software like Fusion 360, SolidWorks, or Onshape excels at mechanical parts with precise dimensions, defined relationships between features, and the ability to modify designs through changing parameters rather than rebuilding geometry. These tools work well for functional parts, engineering components, brackets, enclosures, and anything where dimensional accuracy and mechanical assembly matter. The learning curve can be steep, but investment in mastering these tools pays dividends through the ability to create precisely what you need rather than adapting existing designs.
Sculpting and organic modeling software like Blender, ZBrush, or Meshmixer take different approaches more suited to artistic work, characters, organic shapes, and aesthetics-driven designs rather than precision engineering. These tools allow pushing and pulling digital clay, adding fine detail through brushes and sculpting tools, and creating flowing forms that would be difficult to define through parametric constraints. Artists and designers working on figurines, decorative objects, jewelry, or conceptual models often prefer these sculpting approaches over engineering-focused CAD tools.
Simpler beginner-friendly tools like Tinkercad provide accessible entry points for learning 3D modeling without the overwhelming feature sets of professional software. Tinkercad uses basic shape primitives that combine through Boolean operations to create more complex forms. While limited compared to professional tools, it allows newcomers to create printable models and understand fundamental 3D modeling concepts without extensive training. Many educational programs introduce students to 3D modeling through these simplified tools before progressing to more capable software.
Downloading existing models from online repositories provides immediate access to printable designs without requiring modeling skills. Websites like Thingiverse, Printables, MyMiniFactory, and Cults3D host millions of models shared by designers ranging from hobbyists to professionals. These libraries include replacement parts for common items, hobby and craft components, decorative objects, educational models, toys, tools, and countless other categories. Searching these repositories often reveals someone has already designed exactly what you need or something close enough to work with minimal modification.
Understanding model licensing matters when downloading designs because not all models are free to use for all purposes. Creative Commons licenses define what you can do with downloaded models—whether you can modify them, use them commercially, or must attribute the original creator. Some models are released for personal use only and cannot legally be printed for sale. Others require attribution but allow commercial use. Reading and respecting license terms protects both you and the original designers who share their work.
Three-dimensional scanning captures physical objects as digital models through various technologies including structured light scanning, photogrammetry, and laser scanning. This allows digitizing existing objects for replication, reverse engineering parts where no CAD data exists, or capturing organic forms like sculptures or anatomical surfaces. The resulting scan data typically requires substantial cleanup and processing to become printable models, as scans often contain noise, missing data, or excess geometry that must be removed or repaired before printing.
Model file formats matter because not all 3D file types work for 3D printing. The STL format has become the de facto standard for 3D printing, representing objects as meshes of triangular facets that approximate surfaces. OBJ files serve similar purposes with additional capabilities like color information. 3MF files represent a newer standard that includes more metadata about the model and intended printing parameters. Native CAD formats like STEP or Parasolid typically must be exported to STL or similar mesh formats before slicing software can process them for printing.
Model quality issues can prevent successful printing even when the geometry looks correct in CAD software. Non-manifold edges where surfaces do not connect properly, inverted normals that define surfaces as inside-out, overlapping or intersecting geometry that creates ambiguous volumes, and gaps in surfaces that leave holes all create problems during slicing. Many slicing programs include repair tools that attempt to fix these issues automatically, but understanding what makes a model printable helps avoid creating problematic geometry in the first place.
Stage Two: Slicing and Print Preparation
After obtaining a suitable digital model, the next critical stage involves preparing it for printing through slicing software that converts the three-dimensional geometry into machine instructions the printer can execute. This slicing process transforms continuous surfaces into discrete layers and generates the tool paths that will guide material deposition or solidification. The decisions made during slicing profoundly affect print success, quality, and time.
Slicing software takes its name from conceptually slicing the three-dimensional model into hundreds or thousands of thin horizontal layers corresponding to the layer height setting. For each layer, the software determines what cross-section of the model passes through that height, then calculates how to create that cross-section through printing operations specific to the technology being used. For FDM, this means planning tool paths for the nozzle to follow while extruding plastic. For SLA, it means determining which regions should be exposed to solidify resin. For powder bed fusion, it means planning laser scan paths across regions to be sintered.
Model orientation significantly affects print success, quality, and support requirements, making it one of the first critical decisions in print preparation. Orienting parts to minimize overhangs reduces support material needs and post-processing time. Positioning the strongest layers perpendicular to expected loads improves mechanical properties for FDM parts. Arranging parts to minimize height reduces total print time. Balancing these competing factors requires understanding both the part’s functional requirements and the printing technology’s characteristics. Most slicing software allows rotating models freely to find optimal orientations before proceeding with configuration.
Scaling and sizing verification ensures the model prints at the intended dimensions. Import processes sometimes apply unexpected scale factors, or models downloaded from repositories may have been created at incorrect scales. Measuring critical dimensions in the slicer and comparing against intended sizes prevents printing parts that are dramatically too large or too small. Some slicers provide measurement tools specifically for this verification. Discovering a sizing error before printing saves hours compared to realizing after completion that the part is unusable due to wrong dimensions.
Support structure generation addresses the challenge of printing overhanging features that extend into empty space without material beneath them. The slicing software analyzes the model geometry to identify regions that exceed the printer’s maximum overhang angle, typically around forty-five degrees for FDM. The software then generates temporary support structures that will hold up these overhangs during printing. Support density, pattern, and interface settings affect how easily supports remove after printing and how much surface marking they leave. Minimizing supports through orientation reduces material waste and post-processing effort.
Print settings encompass dozens of parameters that control how the printer executes the build, and understanding their effects enables optimizing for specific requirements. Layer height determines the tradeoff between surface smoothness and print time. Print speed affects build duration and quality. Wall thickness determines strength and material usage. Infill density and pattern control internal structure. Temperature settings for both hotend and bed affect material flow and adhesion. Cooling fan speeds influence bridging and overhang quality. Each setting interacts with others, creating a complex optimization space that experienced users learn to navigate through experimentation and understanding.
Pre-configured profiles in slicing software provide starting points that work reasonably well for common material and quality combinations. A “standard quality” profile for PLA might specify 0.2 millimeter layers, fifty millimeters per second print speed, twenty percent infill, and appropriate temperatures. These profiles prevent beginners from having to understand every setting immediately while providing paths to successful prints. As experience grows, users can modify these profiles to optimize for specific needs or create custom profiles for frequent combinations of material, quality level, and printer.
Infill configuration determines the internal structure of printed parts, affecting strength, weight, material usage, and print time. Common infill patterns include rectilinear grids, honeycomb structures, gyroid curves, and triangular patterns, each with different structural properties and printing characteristics. Infill density typically ranges from ten to thirty percent for parts requiring reasonable strength, with higher densities for increased strength at the cost of more material and time. Top and bottom layers override infill near surfaces to create solid skins that hide the internal structure. Understanding these options allows tailoring internal structure to specific loading conditions and requirements.
Brim, raft, and skirt options improve first layer adhesion or provide other benefits at the cost of additional material and print time. Skirts print a few perimeter lines around but not touching the part, serving to prime the nozzle and verify bed leveling before the actual part begins. Brims extend outward from the part’s first layer, creating a wider base that improves adhesion and helps prevent warping. Rafts create a complete separate base structure beneath the part, providing maximum adhesion assistance but requiring careful removal that may mark the bottom surface. Selecting the appropriate bed adhesion strategy depends on the material being printed and the challenges expected with specific geometry.
Print time estimation appears after slicing completes, providing an essential input for planning and timeline management. The slicer calculates time by summing the duration of every movement command in the generated tool paths, accounting for speeds, acceleration, and the length of every line to be printed. These estimates typically prove quite accurate, usually within ten percent of actual print time. Reviewing the estimate helps decide whether the configured settings create acceptable tradeoffs between time and quality or whether adjustments might improve the balance.
Preview and simulation features allow examining the planned tool paths layer by layer before printing begins. This visualization shows exactly how the printer will build each layer, revealing potential problems like inadequate support, thin unsupported features, or unexpected artifacts from how the slicing algorithm interpreted the geometry. Stepping through layers in preview mode catches many issues that would only become apparent during printing, when aborting wastes time and material. Taking time to review the sliced result prevents many print failures that stem from incorrect settings or model issues that manifest during slicing.
Stage Three: Preparing the Printer
Before beginning the actual print, several preparatory steps ensure the printer is ready to execute the job successfully. These preparations vary by technology but generally involve verifying the machine is clean, properly calibrated, loaded with appropriate materials, and configured for the specific print job. Skipping or rushing through these preparations invites problems that compromise print quality or cause outright failures.
Build surface preparation affects first layer adhesion, which determines whether prints stick properly throughout the build or detach and fail. For FDM printing, this might involve cleaning the build plate to remove oils and residue from previous prints, ensuring the surface is level and at the correct height from the nozzle, and potentially applying adhesion aids like glue stick, hairspray, or specialized products that improve how plastic sticks to the surface. Different bed surface materials—glass, PEI sheets, textured surfaces—require different preparation approaches and work better with certain materials.
Bed leveling ensures the build surface maintains consistent distance from the print head across the entire build area. Manual bed leveling involves adjusting screws at multiple points under the build plate while using a piece of paper as a feeler gauge to judge the gap between nozzle and surface. The paper should slide with slight friction when the gap is correct, indicating proper clearance for the first layer to deposit without the nozzle dragging or being too far away. This process requires patience and practice, checking each adjustment point multiple times as adjustments at one corner affect others. Automatic bed leveling systems using probe sensors simplify this process by measuring the bed surface at many points and compensating for irregularities through firmware, though the probe itself still requires calibration to establish the correct offset.
Material loading and verification ensures the printer has sufficient filament, resin, or powder to complete the print. For FDM, this involves confirming the filament spool has adequate material, the filament path is clear without tangles or friction, and the filament is dry if using materials sensitive to moisture absorption. For resin printing, this means ensuring enough resin fills the vat, the resin is well-mixed without settled particles, and the FEP film or vat window is clean without clouding or damage. For powder bed systems, it involves loading sufficient powder, ensuring proper flow characteristics, and verifying the powder bed surface is level.
Printer homing and initialization sequences establish the starting positions from which all movements reference. The printer moves each axis until it triggers limit switches or detects resistance, establishing zero positions that define the coordinate system for the print. Skipping homing or having issues during homing can cause the printer to start in incorrect positions, leading to crashes or prints that don’t align with the build surface. Watching the homing sequence ensures the printer moves smoothly without unusual sounds, jamming, or missing steps that indicate mechanical problems.
Temperature verification confirms the hotend and bed reach their target temperatures and stabilize before printing begins. Most printers display current and target temperatures, allowing verification that heating systems work properly. Hotends should reach target temperatures within a few minutes and maintain them within a degree or two. Beds take longer to heat but should eventually stabilize. Temperatures that overshoot significantly, oscillate, or fail to reach targets indicate problems with heating elements, thermistors, or PID tuning that must be addressed before printing.
Purge and prime operations clear any old material from the hotend and ensure fresh material flows properly before the print begins. The printer typically extrudes a small amount of filament to purge any degraded material that sat in the hot nozzle during heat-up. This purge line often prints to the side of the build area, creating a disposable strip of plastic that verifies good flow before the actual part begins. Watching this purge confirms the extruder pushes material smoothly without clogs, jams, or under-extrusion issues that would ruin the print.
File transfer to the printer happens through various methods depending on the printer’s connectivity. SD cards or USB drives provide the most universal approach, allowing sliced G-code files to transfer physically to the printer’s card reader. USB cable connections allow direct control from the slicing software through the connected computer. Network connections via WiFi or Ethernet enable wireless file transfer and print management through web interfaces or dedicated software. Each method has advantages in convenience versus reliability, with SD cards being foolproof but requiring physical presence while network connections enable remote monitoring but depend on stable connectivity.
Stage Four: The Printing Process
Once preparations complete and the print begins, the build process enters a phase that requires relatively little intervention but benefits from periodic monitoring to catch problems before they waste substantial time and material. Understanding what happens during printing and what to watch for helps maximize success rates while developing troubleshooting skills.
The first layer represents the most critical phase of any print because it establishes the foundation upon which all subsequent layers build. Watching the first layer complete allows catching adhesion problems, bed leveling issues, or over/under-extrusion early when aborting wastes minimal time. A successful first layer shows consistent line width with adjacent lines touching but not squishing excessively, good adhesion to the bed with no corners lifting, and smooth consistent flow without gaps or blobs. If the first layer shows problems, aborting and addressing the issues immediately prevents wasting hours on a print that would fail anyway.
Temperature stability throughout the print ensures consistent material flow and layer bonding. Watching the temperature display during initial layers confirms the hotend maintains target temperature without significant fluctuation and the bed stays at its set temperature. Most printers show slight temperature oscillation of a degree or two as the PID control makes adjustments, but larger swings or steady drift away from targets indicate problems. Cooling fans cycling on and off can cause temporary temperature drops that affect print quality if not properly compensated by the control system.
Movement sounds provide audio feedback about printer operation that experienced users learn to interpret. Smooth motion creates consistent quiet hum from stepper motors and belt movement. Grinding, clicking, or skipping sounds indicate problems like stepper motors losing steps, belts slipping, or mechanical binding that prevent accurate positioning. Unusual resonances or vibrations may indicate loose components or speeds that excite resonant frequencies in the frame. Developing an ear for normal versus abnormal sounds helps catch mechanical issues before they ruin prints.
Layer adhesion quality becomes visible as the print progresses upward. Good layer bonding creates solid walls with no visible separation between adjacent layers. Poor bonding shows as horizontal cracks or the ability to peel layers apart with minimal force. Adhesion problems typically stem from insufficient temperature, too much cooling, printing too quickly for proper thermal bonding, or material quality issues. Catching adhesion problems early allows adjusting parameters for subsequent prints rather than discovering after completion that parts are structurally weak.
Support structures should build cleanly without excessive sagging or poor attachment to the main part. Supports that separate from the part during printing fail to provide the intended structural support, causing overhangs to sag or fail. Support material that fuses too strongly to the part may damage surfaces during removal. Observing how supports build in early layers indicates whether settings need adjustment for better support function.
Print time monitoring allows estimating remaining duration and planning around completion. Most printers display percentage completion and estimated time remaining based on progress through the G-code file. These estimates become more accurate as the print progresses and actual speeds are measured. Knowing the print will finish in six hours allows planning to be present for removal while understanding it needs twelve more hours might suggest leaving it to complete overnight.
Remote monitoring through cameras or connected software allows checking print progress without physical presence. Time-lapse cameras capture images at regular intervals, creating animations showing the build process and allowing remote verification that printing continues normally. Some printers include integrated cameras with web interfaces for live viewing. These monitoring options enable checking prints from other rooms or even remotely while away from home, catching problems that would otherwise waste many hours.
Intervention decisions during printing require judging whether problems warrant aborting or whether the print might complete successfully despite issues. Minor stringing between parts, slight imperfections in surfaces, or cosmetic flaws might be acceptable if the part will function properly after cleanup. Significant adhesion problems, major dimensional inaccuracies, support failures that cause collapsed overhangs, or material feed problems that create large gaps generally justify aborting to save time rather than allowing a failing print to continue.
Stage Five: Print Removal and Initial Post-Processing
After the printer completes the last layer and the build finishes, careful removal and initial post-processing prevent damage to both the printed part and the printer’s build surface. The approaches vary by technology but universally require patience and appropriate techniques to achieve good results.
Cooling before removal proves important for many prints, particularly those using materials that warp or become brittle if stressed while hot. Allowing the build plate to cool toward room temperature before attempting removal reduces thermal stress on the part and often makes adhesion release more easily. Parts printed with strong bed adhesion may practically release themselves as cooling causes slight contraction that breaks the bond naturally. Forcing removal while hot risks warping the part or damaging the build surface through excessive force.
Removal techniques for FDM prints depend on the bed surface material and how strongly parts adhered. Flexible build plates allow peeling the surface away from parts rather than prying parts off rigid surfaces, reducing the force required and minimizing damage risk. Metal or plastic scrapers used carefully can slide under parts to pop them free from rigid surfaces, though care is essential to avoid gouging the build surface or slipping and causing injury. Some surfaces release parts readily with minimal force while others require substantial effort, particularly for parts with large first layer area and strong adhesion.
Resin prints require immediate post-processing because uncured resin remains on the surface and in any recesses or holes. Parts must be washed in isopropyl alcohol, specialized cleaning solutions, or water-washable resin-specific cleaners to remove this uncured material. The washing process involves agitation to ensure cleaning solution reaches all surfaces, potentially requiring multiple washes or ultrasonic cleaning for complex geometries. Failing to wash resin prints properly leaves sticky residue that remains uncured and can cause skin irritation.
Support removal represents one of the most time-consuming post-processing steps for prints that required substantial support structures. FDM supports typically break away by hand or with pliers, though interface areas may require cutting with flush cutters to separate cleanly. Resin supports generally clip off more easily than FDM supports but may leave small attachment points that need sanding. SLS supports don’t exist as separate structures since loose powder serves this purpose, but removing parts from powder beds requires careful excavation and powder removal from internal cavities.
Surface finishing of freshly removed prints reveals the as-printed surface quality and determines what additional finishing might be needed. FDM prints show characteristic layer lines that some applications accept while others require removing through sanding, chemical smoothing, or coating. Resin prints have smoother surfaces but may show support attachment points or layer lines from thick layer heights. Understanding what surface quality the application demands determines whether the as-printed result suffices or whether additional finishing steps are necessary.
Curing of resin prints represents an additional post-processing step required to achieve final material properties. After washing, parts must undergo additional UV exposure to complete the polymerization process and develop full mechanical properties. UV curing chambers or sunlight exposure for specified durations based on resin type and part thickness ensure complete curing. Under-cured parts remain slightly flexible and weak compared to properly cured equivalents, while over-curing can cause yellowing or embrittlement in some resins.
Dimensional verification immediately after printing confirms the part matches intended dimensions before investing time in further finishing. Measuring critical dimensions with calipers reveals whether settings achieved acceptable dimensional accuracy or whether adjustments are needed for reprints. Discovering dimensional errors early prevents wasting time on extensive finishing of parts that won’t function due to incorrect sizing.
Stage Six: Advanced Post-Processing and Finishing
Beyond the initial support removal and surface assessment, many prints benefit from additional post-processing operations that improve appearance, mechanical properties, or functional characteristics. These finishing techniques range from simple to advanced and may be required or optional depending on the application.
Sanding removes layer lines and smooths surfaces on FDM prints, with progressively finer grits creating increasingly smooth finishes. Starting with coarse 100-200 grit sandpaper removes the most visible layer lines, then progressing through 400, 600, 800, and potentially 1000 or higher grits creates surfaces that can be polished to glossy finishes. Wet sanding with water lubrication reduces dust and prevents clogging sandpaper. The time investment for sanding can be substantial for complex parts, but the transformation from obviously 3D printed to smooth professional-looking surfaces often justifies the effort.
Vapor smoothing chemically melts the surface of ABS or ASA prints using solvent vapors in controlled environments. The vapor softens surface layers, causing layer lines to melt and flow together into smooth continuous surfaces. This technique achieves results difficult to match through mechanical sanding while requiring less labor. However, it demands careful control to prevent excessive melting that loses detail, and the chemicals involved require proper ventilation and safety precautions. Similar techniques exist for other materials using appropriate solvents.
Priming and painting transform appearance through applying automotive primers and paints. Primer fills minor surface imperfections and creates uniform base layers for paint adhesion. Multiple primer coats with light sanding between coats build toward smooth surfaces. Paint application through spray cans or airbrushes allows achieving professional finishes with solid colors, metallics, or elaborate schemes. Clear coat protection over paint provides durability and glossy or matte finishes. These techniques allow creating presentation-quality parts from rough as-printed surfaces.
Gap filling with putty or epoxy addresses layer lines, support marks, or assembly seams. Body filler putty or specialized 3D print gap fillers spread into depressions, then sand smooth after curing. This technique particularly benefits larger prints where individual layer lines become conspicuous or where support removal left marks. Multiple fill and sand cycles can eliminate all evidence of the printing process for parts requiring perfect surface quality.
Acetone welding or plastic welding joints together multiple printed parts that exceed printer build volumes. For ABS parts, acetone application to mating surfaces softens the plastic, allowing pieces to be pressed together and chemically bonded as the acetone evaporates. Plastic welding using hot air tools or dedicated plastic welders melts joint areas to create molecular bonds between parts. These techniques create assemblies that approach the strength of single-piece parts when executed properly.
Thread tapping and heat-set inserts create threaded connections in printed parts. Tapping drilled holes with taps creates threads directly in the plastic, suitable for occasional assembly and disassembly. Heat-set threaded inserts pressed into specifically sized holes while hot create more durable threaded connections that withstand repeated assembly cycles. These hardware options allow creating functional threaded connections without designing in complex printed threads that may not function reliably.
Sealing and waterproofing treatments prepare parts for wet environments or functional applications requiring liquid containment. Epoxy coatings applied in thin layers seal the porous structure of FDM prints, creating waterproof barriers. Specialized sealants fill layer lines from the inside or outside to prevent liquid penetration. These techniques enable using 3D printed parts for planters, containers, or outdoor applications where untreated prints would absorb water and potentially degrade.
Common Workflow Problems and Solutions
Understanding problems that commonly arise at different workflow stages and how to address them helps maintain productivity and achieve consistent results. Many issues have straightforward solutions once properly diagnosed.
Model problems manifest during slicing or printing as unexpected behavior or artifacts. Non-manifold edges create confusion about what should be solid versus empty. Inverted normals cause surfaces to face wrong directions. Intersecting geometry creates ambiguous overlapping volumes. Most slicers include repair tools that automatically fix these issues, but complex models sometimes require manual repair in modeling software or specialized mesh repair tools. Learning to recognize these problems in slicing preview prevents printing models that won’t process correctly.
Bed adhesion failures occur most frequently during first layer deposition and immediately abort prints. Solutions include re-leveling the bed, reducing nozzle distance to the bed, increasing bed temperature, cleaning the surface more thoroughly, applying adhesion promoters, reducing first layer printing speed, or switching bed surface materials. Systematic troubleshooting identifies which factor causes specific adhesion problems.
Warping happens when thermal contraction creates stresses that overcome bed adhesion, causing corners to lift. Increasing bed temperature reduces thermal differential. Using enclosed chambers maintains ambient temperature around parts. Brims or rafts increase adhered surface area. Designing rounded corners distributes stress better than sharp corners. Material selection affects warping tendency, with PLA warping much less than ABS.
Stringing creates thin threads between printed sections from plastic oozing during travel moves. Increasing retraction distance or speed pulls material back further. Reducing printing temperature makes plastic less fluid. Increasing travel speed reduces time for oozing. Enabling combing in slicing software routes travels through solid regions rather than open air. Wiping options drag the nozzle across surfaces before travels to remove excess material.
Under-extrusion creates weak gaps in prints from insufficient material flow. Causes include low extrusion multiplier settings, filament feed problems, partial clogs, temperature too low for proper flow, or printing too fast for the hotend’s flow capacity. Solutions address the specific cause: calibrate flow rate, check extruder tension, clear clogs, increase temperature, or reduce speed.
Over-extrusion creates excessive material that oozes, blobs, or creates dimensional inaccuracy. Reducing extrusion multiplier, ensuring correct filament diameter settings, cleaning nozzles, and reducing temperature all address different over-extrusion causes. Calibration prints help dial in the correct extrusion amount for specific material and printer combinations.
Conclusion
The workflow from digital file to physical object involves multiple distinct stages, each with specific requirements and potential problems. Creating or obtaining suitable models, preparing them through slicing with appropriate settings, readying the printer through proper calibration and material loading, monitoring the build process, carefully removing finished prints, and applying necessary post-processing all contribute to ultimate success. Understanding each stage’s purpose and requirements allows systematically achieving consistent results.
This workflow becomes more intuitive with practice as procedures that initially require conscious thought become automatic habit. Experienced users develop personal workflows optimized for their specific equipment, materials, and applications. They recognize problems immediately from subtle signs that beginners miss and know exactly which parameters to adjust for specific issues. This expertise builds through the repetition of working through the complete workflow repeatedly, learning from both successes and failures.
The investment in understanding this complete workflow pays dividends in reliability, quality, and efficiency. Knowing which settings matter most for specific requirements allows efficient optimization without wasting time tweaking irrelevant parameters. Understanding what to watch during printing enables catching problems early before they waste substantial time. Recognizing when post-processing investments will improve results sufficiently to justify their cost versus when as-printed quality suffices makes efficient use of time.
Whether printing occasionally for personal projects or running printers continuously for production, mastering this workflow from end to end enables achieving the results three-dimensional printing promises. The technology’s capabilities become accessible when you understand not just which buttons to press but why each step matters and how decisions at each stage affect final outcomes. This knowledge transforms 3D printing from a mysterious process that sometimes works into a reliable manufacturing method that consistently delivers expected results.