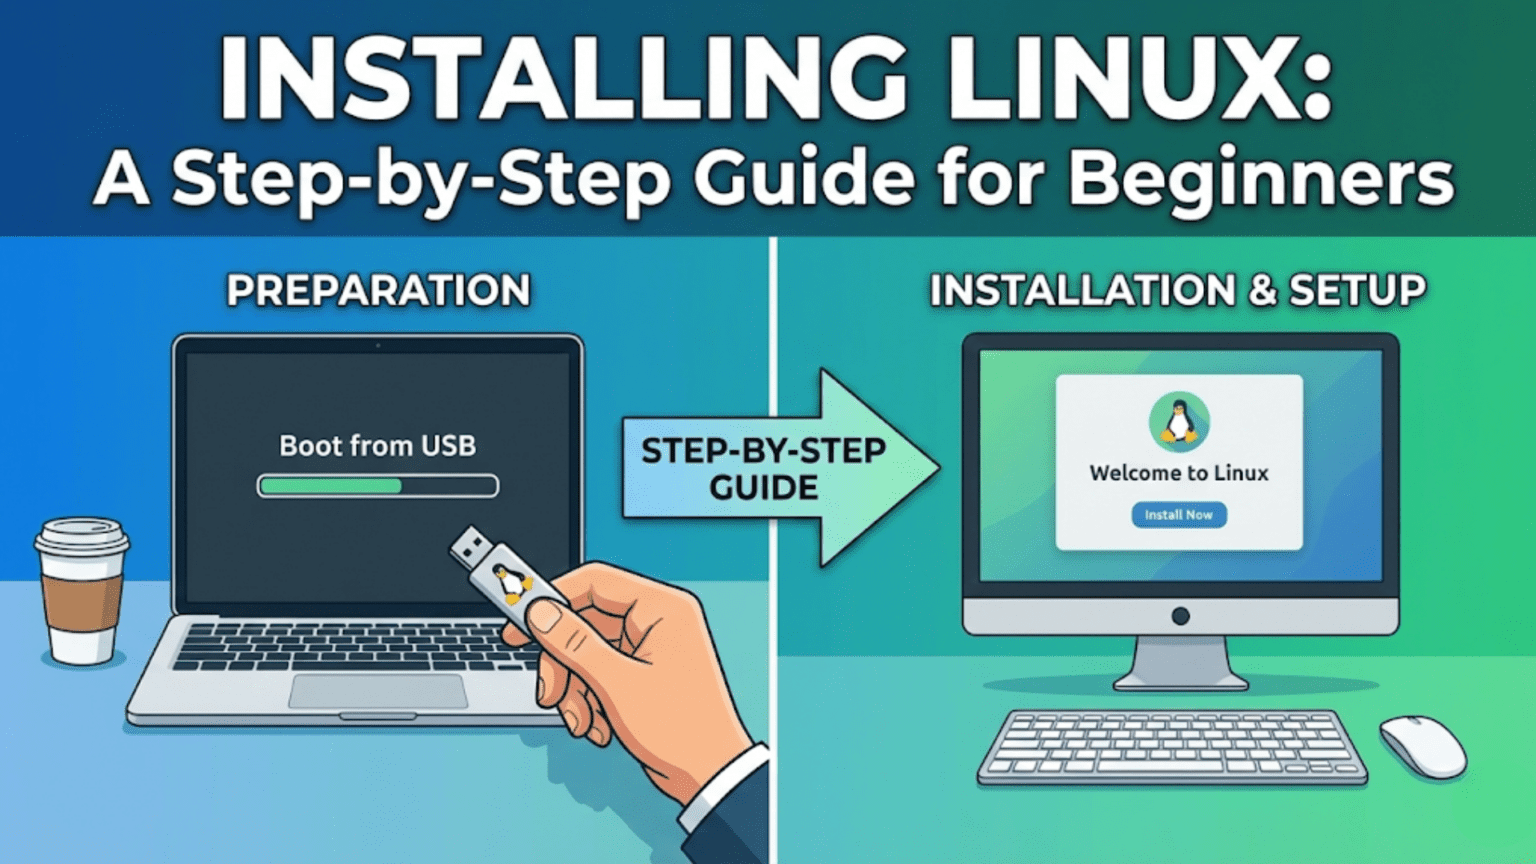
Installing Linux involves booting your computer from a Linux USB drive, launching the graphical installer, choosing your language and keyboard layout, selecting an installation type (alongside your existing OS or replacing it), partitioning your drive, creating a user account, and waiting for the installation to complete. Most modern Linux distributions like Ubuntu and Linux Mint complete this process in under 20 minutes with a straightforward graphical wizard that guides you through every step.
Introduction: The Step from Trying to Owning
You have downloaded a Linux distribution. You have created a bootable USB drive. You have booted into the live environment and explored the desktop. Linux works on your hardware, your Wi-Fi connects, and you are ready to make the commitment: you want to install Linux properly, not just run it from a USB drive.
This is the moment that transforms Linux from an experiment into your operating system. Installation puts Linux on your computer’s internal drive, giving it the speed, storage, and permanence that running from a USB drive cannot provide. Installed Linux boots quickly, saves all your files and settings, and behaves exactly like any other properly installed operating system.
Many beginners approach the installation step with anxiety. Stories of partition disasters, lost data, and incomprehensible error messages create a perception that Linux installation is treacherous territory. The reality in 2024 is quite different. Modern Linux installers — particularly those of Ubuntu, Linux Mint, and Fedora — are graphical, guided, and designed to be completed successfully by people who have never installed an operating system before. The process is genuinely accessible, and with the preparation this guide provides, you have every reason to feel confident.
This article covers Linux installation from the very beginning to the moment you log into your newly installed system for the first time. We will address the important decisions you need to make before installation begins, walk through every step of the Ubuntu and Linux Mint installation processes in detail (the most common choice for beginners), explain the key differences when installing Fedora, and give you clear guidance on the most critical decision of all: what to do with your hard drive.
Before You Begin: Essential Preparation
Rushing into installation without preparation is the cause of most installation problems. Spending fifteen minutes on preparation before you start will save you from the scenarios that give Linux installation its intimidating reputation.
Back Up Everything Important
This cannot be overstated: before making any changes to your computer’s drive, back up every file you care about. Copy your documents, photos, music, videos, and any other important data to an external drive, a USB drive, a cloud storage service, or any combination of these.
During installation, you will be working with disk partitions — the logical divisions of your hard drive. If you are installing Linux alongside Windows in a dual-boot configuration, the installer will resize your Windows partition to make room for Linux. This process is generally safe when your drive is healthy and the installer handles it, but disk operations always carry a small risk. A backup ensures that even if something goes wrong, your files are not lost.
If you are replacing your current operating system entirely, the installation will erase your drive. Backup is not optional in this case — it is the only protection for your data.
Check Your Drive Health
If your computer has an older spinning hard drive (HDD) rather than a solid-state drive (SSD), it is worth checking the drive’s health before installation. Drives with developing errors can fail during or after installation, potentially losing your new Linux installation and your data. On Windows, you can check drive health using the built-in CHKDSK utility or a free tool like CrystalDiskInfo. On macOS, Disk Utility provides S.M.A.R.T. status information.
A drive showing “Caution” or “Bad” S.M.A.R.T. status should be replaced before installing any operating system on it.
Verify Your Bootable USB Drive is Ready
You should already have a bootable USB drive prepared with your chosen Linux distribution, as covered in the previous article. Confirm the drive is working by booting into the live environment one more time and verifying everything looks correct before beginning installation.
Note Your Wi-Fi Password
During installation, the installer may offer to connect to Wi-Fi to download updates. Having your Wi-Fi password available saves you from stopping mid-installation to look it up.
Plug Into Power
If you are installing on a laptop, connect to a power source before beginning. Installation writes substantial amounts of data to your drive and runs the processor hard. If your battery runs out mid-installation, the results can range from a corrupted installation to a drive with partially written data. Do not risk it.
Know Your Installation Type
Before you start, decide which of the following installation approaches you want to take:
Install alongside existing OS (dual boot): Linux installs next to your current operating system. At startup, a boot menu lets you choose which OS to use. Your current OS and its files are preserved. This is the safest option for first-time Linux users who want to keep their existing environment available.
Replace existing OS (full installation): Linux replaces your current operating system entirely. The drive is wiped and Linux takes the whole thing. Choose this if you are certain you want Linux as your only OS, or if you are repurposing a computer that does not need its current OS preserved.
Manual partitioning: You manually configure how the drive is divided. This gives maximum control but requires understanding partitions. Not recommended for beginners — the automatic options handle partitioning correctly for most use cases.
Understanding Partitions: Just Enough to Get Started
You do not need to be a partitioning expert to install Linux, but a basic understanding helps you make sense of what the installer is doing and why.
What Is a Partition?
A partition is a logical division of a physical drive. A single physical drive can contain one partition (using the whole drive) or multiple partitions (each appearing as a separate drive to the operating system). Partitions allow a single drive to contain multiple file systems — which is exactly what happens in a dual-boot configuration: one partition holds Windows, another holds Linux.
Partitions Linux Needs
A standard Linux installation needs at minimum two partitions, though three is more common and recommended:
The root partition (mounted at /) holds the Linux operating system itself and all installed programs. Think of this as the equivalent of the C: drive in Windows. This partition needs to be large enough to hold the OS plus any software you install. A minimum of 25 GB is workable, but 40–50 GB is more comfortable for a daily driver system.
The swap partition acts as overflow RAM — when your computer’s physical memory is full, Linux can use swap space on the drive as slower additional memory. It also allows the system to hibernate (saving the contents of RAM to disk when you shut down and restoring them when you start up again). A traditional rule was to make swap the same size as RAM; modern guidance suggests matching RAM size for systems with 8 GB or less, and 8–16 GB for systems with more RAM.
The home partition (mounted at /home) holds all user files, settings, and personal data — the equivalent of the Users folder in Windows. Having /home on a separate partition is not strictly required but is excellent practice: if you ever need to reinstall Linux, your personal files and settings survive intact as long as you keep the home partition. Many beginner-focused installers set this up automatically, while others require manual configuration.
For modern UEFI systems, one more partition is needed: the EFI System Partition (ESP), a small (200–500 MB) FAT32 partition that stores the bootloaders for all operating systems on the drive. On a system that already has Windows installed, the ESP already exists and Linux will add its bootloader to it rather than creating a new one.
Installing Ubuntu: The Full Walkthrough
Ubuntu’s installer, called Ubiquity (in older versions) or the new Flutter-based installer (in Ubuntu 23.04 and later), provides one of the most polished and beginner-friendly installation experiences available. The steps below reflect Ubuntu 24.04 LTS, which uses the newer installer design.
Step 1: Boot from Your USB Drive
Insert your bootable Ubuntu USB drive and restart your computer. Access your boot menu (typically F12, F11, or F8 at startup — see the previous article for manufacturer-specific keys) and select your USB drive. Ubuntu will begin loading.
Step 2: The Boot Menu
Ubuntu’s GRUB boot menu appears with options including “Try or Install Ubuntu.” Select this option and press Enter. Ubuntu loads into its live environment. This may take a minute or two depending on your USB drive’s speed.
Step 3: The Welcome Screen
Once the desktop loads, the Ubuntu installer launches automatically (or you can open it from the icon on the desktop). The welcome screen asks you to select your language. Choose your language from the list and click Next.
Step 4: Accessibility Options
Ubuntu’s installer includes accessibility options — screen reader, large text, high contrast, and zoom support — at the start of the installation process. If you need any of these, configure them now. Otherwise, click Next.
Step 5: Keyboard Layout
The installer attempts to auto-detect your keyboard layout based on your language selection. You can verify this is correct by typing in the test field at the bottom of the screen. If the detection is wrong, use the search box to find your correct layout. Click Next when done.
Step 6: Connect to the Internet (Optional)
The installer offers to connect to Wi-Fi. Connecting allows the installer to download updates and additional drivers during installation, which saves time afterward. Select your network from the list, enter your Wi-Fi password, and click Connect. Alternatively, click “I don’t want to connect to the internet right now” to skip this step and connect after installation.
Step 7: What to Install
Ubuntu offers two main installation options at this stage:
“Default selection” installs Ubuntu with a standard set of applications including Firefox, LibreOffice, and multimedia tools. This is appropriate for most users.
“Extended selection” installs additional applications and full offline documentation. This makes sense if you will not have reliable internet access after installation.
A checkbox on this screen asks whether to install third-party software for graphics and Wi-Fi hardware, and whether to install additional media formats. Check both of these boxes for the best hardware support and multimedia compatibility out of the box. Ubuntu’s open-source principles mean these are not enabled by default, but for most users enabling them is the right practical choice.
Step 8: Installation Type — The Critical Decision
This is the most important screen in the entire installation process. Read it carefully.
If Ubuntu detects an existing operating system (like Windows), it offers:
“Install Ubuntu alongside [existing OS]” — This is the dual-boot option. Ubuntu automatically resizes your existing partition to make room and installs in the freed space. A slider lets you adjust how much space is allocated to each OS. This is the safest choice for users who want to keep their existing system.
“Erase disk and install Ubuntu” — This wipes everything on the drive and installs Ubuntu on the entire disk. Use this only if you are certain you want Ubuntu as your only operating system and have backed up all data.
“Manual installation” — Allows you to manually create and configure partitions. For beginners, this is not recommended unless you have a specific reason to need custom partition configurations.
If you are installing on a completely empty drive or a drive you have intentionally wiped, you will only see the “Erase disk and install Ubuntu” option, which is appropriate.
Select your option and click Next.
Step 9: Disk Confirmation
If you chose to install alongside an existing OS, Ubuntu shows a visualization of how the drive will be divided. The left section represents your existing OS, the right section represents the new Ubuntu partition. The dividing line can be dragged to adjust the allocation. Ensure Ubuntu gets at least 25 GB — 40 GB or more is preferable.
If you chose to erase and install, the screen confirms which drive will be erased. Verify this is the correct drive — especially important if you have multiple drives.
Click “Install Now.” A confirmation dialog appears warning that the partition changes cannot be undone. If you are satisfied with the configuration, click Continue.
Step 10: Where Are You?
A world map appears asking for your timezone. Click your location on the map or type your city in the text field. This sets your system clock. Click Next.
Step 11: Create Your Account
Enter your name, your computer’s name (the hostname — this is how the computer identifies itself on a network), your username, and your password.
Your username should be lowercase letters, numbers, and hyphens only — no spaces. Usernames like “john” or “sarah-smith” work well. The computer name appears in your terminal prompt and on your local network, so something recognizable like “laptop” or “johns-computer” is practical.
Your password should be strong — a mix of letters, numbers, and symbols, at least 12 characters. This password will be required for installing software, making system changes, and logging into your account.
The “Require my password to log in” option is recommended for security. You can disable it on a computer that only you use, but password protection is good practice.
Click Next.
Step 12: Installation Begins
Ubuntu now begins the actual installation. A progress bar shows installation progress while slides in the background highlight Ubuntu’s features. Installation typically takes between 10 and 25 minutes depending on your drive speed and whether you chose to download updates during installation.
Do not turn off the computer or remove the USB drive during this process.
Step 13: Installation Complete
When installation finishes, a dialog appears announcing that Ubuntu has been installed and asking whether to restart or continue testing. Click “Restart Now.”
The system will begin shutting down and will ask you to remove the USB drive and press Enter. Remove the USB drive and press Enter. The computer reboots.
Step 14: First Boot
The computer boots from its internal drive, loading Ubuntu for the first time. The GRUB bootloader appears if you installed alongside another OS, showing options for Ubuntu and your previous OS. If you installed Ubuntu as the only OS, it boots directly to Ubuntu.
Ubuntu loads to the login screen. Enter the password you created during installation. Ubuntu’s setup wizard may launch on first login to guide you through a few final configuration steps. After that, you are in your new Ubuntu installation.
Installing Linux Mint: Key Differences
Linux Mint uses its own installer called the Mint Installer, which is similar in structure to Ubuntu’s but with some differences worth noting.
The installation process begins the same way — boot from USB, choose to launch the installer from the desktop. The Mint Installer presents a list of steps down the left side of the window, letting you see where you are in the process at any time.
One important difference is that Linux Mint asks during installation whether to install multimedia codecs (MP3 support, video codecs, and similar). A checkbox marked “Install multimedia codecs” appears early in the installation process. Check this box. It is one of Mint’s key advantages over Ubuntu — these codecs are available and easily enabled during installation so your media files work immediately after the system is set up.
Linux Mint’s partition screen offers the same options as Ubuntu: install alongside existing OS, erase and install, or manual partitioning. The behavior and recommendations are identical.
The user account creation screen in Mint also offers a choice about whether to encrypt your home folder. Encrypting your home folder protects your personal files if someone gains physical access to your drive. For a laptop that might be lost or stolen, this is worth enabling. For a desktop that never leaves your home, it is less critical. Note that if you forget your password and the home folder is encrypted, recovering files becomes significantly harder.
Installing Fedora: Notable Differences
Fedora uses a different installer called Anaconda. It is well-designed and capable but presents information differently from Ubuntu and Mint installers, which can be slightly disorienting at first.
Fedora’s installer uses a “hub and spoke” model: rather than proceeding through steps in a fixed sequence, the main screen shows several categories (Installation Destination, Network & Host Name, Language, etc.) and you complete them in any order before clicking Begin Installation. Some categories require your input (marked with an exclamation mark) while others are preconfigured with sensible defaults.
The most important spoke to configure is Installation Destination. Click it to open the disk configuration screen. Fedora offers “Automatic” storage configuration, which handles partitioning for you — this is the right choice for beginners. Fedora uses Btrfs as its default file system, which provides snapshotting and easy rollback capabilities. If a system update breaks something, Btrfs snapshots allow you to roll back to the previous state — a genuinely useful safety net.
After configuring the required sections, the Begin Installation button activates. During installation, you will create your user account and set the root password (Fedora separates this into two separate screens). Creating a strong root password is important — the root account has unlimited system privileges.
One additional step recommended after a fresh Fedora installation: enable the RPM Fusion repositories and Flathub to access a broader range of software. Open a terminal after installation and run:
sudo dnf install https://mirrors.rpmfusion.org/free/fedora/rpmfusion-free-release-$(rpm -E %fedora).noarch.rpm https://mirrors.rpmfusion.org/nonfree/fedora/rpmfusion-nonfree-release-$(rpm -E %fedora).noarch.rpmThis gives you access to additional software including media codecs and NVIDIA drivers that Fedora’s official repositories do not include due to open-source policy.
Installation Types Compared
| Installation Type | Best For | Risk Level | Difficulty |
|---|---|---|---|
| Install alongside existing OS (dual boot) | First-time Linux users keeping Windows/macOS | Low (with backup) | Easy |
| Erase and install | Dedicated Linux computers, repurposed hardware | Medium (irreversible) | Easy |
| Manual partitioning | Custom setups, specific partition requirements | Higher (user error possible) | Intermediate |
| Encrypted installation | Laptops, security-conscious users | Low | Easy (checkbox) |
| Alongside existing Linux | Multi-distro setups | Medium | Intermediate |
Post-Installation: The First Things to Do
You have installed Linux. The hard part is over. Now a few quick post-installation steps will ensure your system is fully up to date and properly configured.
Update Your System
The first thing to do after any Linux installation is update the package database and install available updates. Even if you chose to download updates during installation, additional updates may have been released since the installer’s package cache was built.
On Ubuntu and Linux Mint, open a terminal and run:
sudo apt update && sudo apt upgradeThe first command refreshes the package list from Ubuntu’s servers. The second command downloads and installs all available updates. You will be asked for your password and asked to confirm the installation. This process may take several minutes.
On Fedora, the equivalent command is:
sudo dnf updateAlternatively, both Ubuntu and Mint provide graphical update managers that perform the same function — look for “Update Manager” or “Software Updater” in your applications.
Install Graphics Drivers if Needed
If your computer has an NVIDIA or AMD graphics card, you may want to install the proprietary graphics drivers for better performance, especially if you plan to use gaming or GPU-intensive applications.
On Ubuntu, open “Additional Drivers” (search in the applications menu) to see available driver options and install them with a click. Linux Mint has a similar tool called “Driver Manager.” These tools automatically detect your hardware and present the appropriate driver options.
On Fedora, install NVIDIA drivers from RPM Fusion:
sudo dnf install akmod-nvidiaAfter installing new graphics drivers, restart your computer.
Configure Your Software Sources
Ubuntu and Mint users should verify their software sources are configured for the best performance. Open “Software & Updates” (Ubuntu) or “Software Sources” (Mint) from your applications. Ensure the server is set to a mirror close to your geographic location for faster downloads.
Install Your Preferred Applications
Your new Linux system comes with a useful default set of applications, but you will likely want to add more. Use your distribution’s software center (Ubuntu Software, Mint Software Manager) or the command line to install applications you use regularly. Common additions include VLC media player, GIMP for image editing, Steam for gaming, or development tools.
Explore Your Settings
Take time to explore the Settings application. Configure your display resolution and refresh rate, set up Bluetooth devices, customize the desktop appearance, configure the power management settings (especially important on laptops), and review privacy and notification settings.
Dual Boot Maintenance: Living with Two Operating Systems
If you chose to install Linux alongside Windows, a few practices will keep your dual-boot setup running smoothly.
GRUB Boot Menu
Every time you start your computer, GRUB (the Linux bootloader) presents a menu showing both Linux and Windows as boot options. By default, GRUB waits 10 seconds before automatically booting the first option (usually Linux). You can change the default OS, adjust the timeout, or hide the menu for a specific OS in GRUB’s configuration — but this is an advanced topic worth researching once you are comfortable with your system.
Time Synchronization Between Windows and Linux
A common annoyance in dual-boot systems is that the system clock appears wrong when switching between Linux and Windows. This happens because Windows stores the hardware clock time in local time, while Linux stores it in UTC (Coordinated Universal Time) and applies timezone offset in software. When one OS changes the hardware clock, the other misinterprets it.
The simplest fix is to configure Linux to use local time like Windows does. In a Linux terminal, run:
timedatectl set-local-rtc 1 --adjust-system-clockThis tells Linux to read and write the hardware clock in local time, matching Windows’s expectation.
Keeping Both Systems Updated
Keep both operating systems updated independently. Windows updates through Windows Update; Linux updates through its package manager. They operate entirely separately and do not interfere with each other. Regular updates are important for security in both systems.
Disk Space Management
Monitor disk space usage in both partitions. If your Linux partition fills up, the system begins to behave erratically — applications may fail to save files, the package manager may be unable to install updates, and log files may fail to write. Check available disk space with df -h in a terminal. If you are consistently running low on space, consider resizing partitions (an advanced operation that requires careful execution) or being more selective about what you install.
Troubleshooting Installation Problems
Even with good preparation, occasionally things go wrong. Here are the most common installation issues and how to resolve them.
Installation freezes or hangs: This most commonly happens during the “Erasing disk” or file copying stages. Wait at least 30 minutes before concluding the installation has truly frozen — some operations take longer than expected. If genuinely frozen, restart and try again, this time with the “Install third-party software” option unchecked to rule out driver issues during installation.
“No bootable device” error after installation: The bootloader was not installed correctly or the BIOS/UEFI is not looking at the right drive. Enter UEFI settings and verify the boot order places your installation drive first. Also check that Secure Boot settings are compatible with your Linux installation.
GRUB does not appear after dual-boot installation (boots directly to Windows): Windows Boot Manager has taken priority over GRUB. Enter UEFI settings and move your Linux installation’s entry above the Windows Boot Manager entry in the boot order.
Wi-Fi not working after installation: Some Wi-Fi adapters require proprietary drivers not available during installation. On Ubuntu, open “Additional Drivers” and check for available wireless drivers. On Mint, use “Driver Manager.” If the computer has Ethernet available, connect via cable to access the internet and download the necessary drivers.
Black screen on first boot: Usually a graphics driver issue. At the GRUB menu, select “Advanced options for Ubuntu” (or your distribution) and choose a recovery option. From the recovery menu, enable networking and then select “dpkg” to repair any broken packages, which sometimes resolves graphics driver conflicts.
How Long Does Linux Installation Take?
For new users wondering what to expect, here is a realistic timeline for a typical installation:
Preparation (backing up data, verifying USB drive): 15–30 minutes. Booting from USB and completing the installation wizard: 10–20 minutes (not counting download time for updates if chosen). Actual file copying and system setup: 10–20 minutes. First boot and initial updates: 10–15 minutes. Total from starting the computer to having a fully updated, working Linux system: approximately 45 minutes to 1.5 hours, with most of that time being waiting rather than active work.
This is comparable to — and often faster than — a fresh Windows installation.
Conclusion: Installation Is Just the Beginning
Installing Linux is a significant milestone, but it is the beginning of your Linux experience rather than the end of the setup process. The system you have installed is a foundation. Over the coming days and weeks, you will customize it to your preferences, install the applications you need, and develop familiarity with its quirks and capabilities.
The anxiety that surrounds Linux installation is largely historical — based on a time when installers were command-line affairs requiring detailed knowledge of partitioning and filesystem configuration. Modern Ubuntu, Mint, and Fedora installers have eliminated virtually all of that complexity. The process described in this article requires no technical expertise, just careful reading and following the steps.
What remains after installation is the rewarding experience of getting to know a new operating system — one that is faster, more private, and more transparent than the commercial alternatives you may have used before. The next article in this series covers navigating the Linux desktop for the first time, helping you find your footing in your new environment and discover what your Linux system can do.