The Arduino Integrated Development Environment (IDE) is a powerful and user-friendly software tool that allows you to write, compile, and upload code to your Arduino board. As the primary software interface for Arduino, the IDE provides all the necessary tools to start programming microcontrollers, creating interactive projects, and experimenting with electronics. This guide will walk you through the steps of installing and configuring the Arduino IDE on your computer, ensuring you have a smooth setup process and are ready to start coding.
The Arduino IDE is compatible with Windows, macOS, and Linux, making it accessible to a wide range of users. It supports various Arduino boards, from the classic Arduino Uno to more advanced models like the Arduino Due and MKR series. The IDE is designed to be beginner-friendly, with a straightforward interface that includes a code editor, compiler, and serial monitor for debugging. Additionally, it comes with built-in examples and libraries that simplify working with sensors, actuators, and other components.
Whether you’re a complete beginner or an experienced developer, setting up the Arduino IDE correctly is the first crucial step in your Arduino journey. This guide will cover the installation process, configuration settings, and tips to optimize your IDE for different projects and boards.
Downloading the Arduino IDE
The first step in setting up the Arduino IDE is downloading the software from the official Arduino website. The Arduino IDE is free to download and use, and it’s regularly updated with new features, bug fixes, and support for the latest boards.
Steps to Download the Arduino IDE
- Visit the Arduino Website: Go to the official Arduino website at www.arduino.cc. Navigate to the Software section by clicking on the “Software” link at the top of the homepage.
- Select the Latest Version of the IDE: In the Software section, you’ll see the latest version of the Arduino IDE listed at the top. Choose the appropriate version for your operating system—Windows, macOS, or Linux.
- Download the Installer:
- For Windows: Choose between the Windows Installer (.exe) for a standard installation or the Windows ZIP file for non-admin installation if you don’t have installation permissions.
- For macOS: Download the
.dmgfile, which will allow you to drag the Arduino IDE into your Applications folder. - For Linux: Download the appropriate version based on your system architecture (32-bit or 64-bit). You can choose a
.tar.xzarchive for a manual installation.
- Make a Contribution (Optional): The Arduino IDE download page will prompt you to make a contribution to support the Arduino project. Contributions are optional, and you can proceed by clicking “Just Download” if you prefer not to contribute.
Installing the Arduino IDE
Once the Arduino IDE has been downloaded, the next step is to install it on your computer. The installation process varies slightly depending on your operating system but is generally straightforward.
Installing on Windows:
- Run the Installer: Double-click the downloaded
.exefile to launch the installer. You may be prompted by Windows User Account Control (UAC) to confirm that you want to run the installer; click “Yes.” - Accept the License Agreement: Read through the license agreement, then click “I Agree” to proceed.
- Select Components: By default, the installer will select all necessary components, including the core IDE, USB drivers, and shortcuts. It’s recommended to leave all options checked, especially the USB driver installation, which allows your computer to communicate with Arduino boards.
- Choose the Installation Folder: You can install the IDE in the default directory (usually
C:\Program Files (x86)\Arduino) or select a different location. - Install the IDE: Click “Install” to begin the installation process. The installer will copy all necessary files and configure the IDE on your computer. Once complete, click “Close” to exit the installer.
Installing on macOS:
- Open the .dmg File: Locate the downloaded
.dmgfile in your Downloads folder and double-click it to open. - Drag the Arduino IDE to Applications: Drag the Arduino IDE icon into your Applications folder to install it.
- Launch the IDE: You can now open the Arduino IDE from your Applications folder. The first time you open the IDE, you may be prompted with a security warning. If this occurs, right-click the Arduino app icon and select “Open” from the context menu to bypass this warning.
Installing on Linux:
Extract the Downloaded Archive: Open your terminal and navigate to the directory where the downloaded .tar.xz file is located. Extract the archive using the following command:
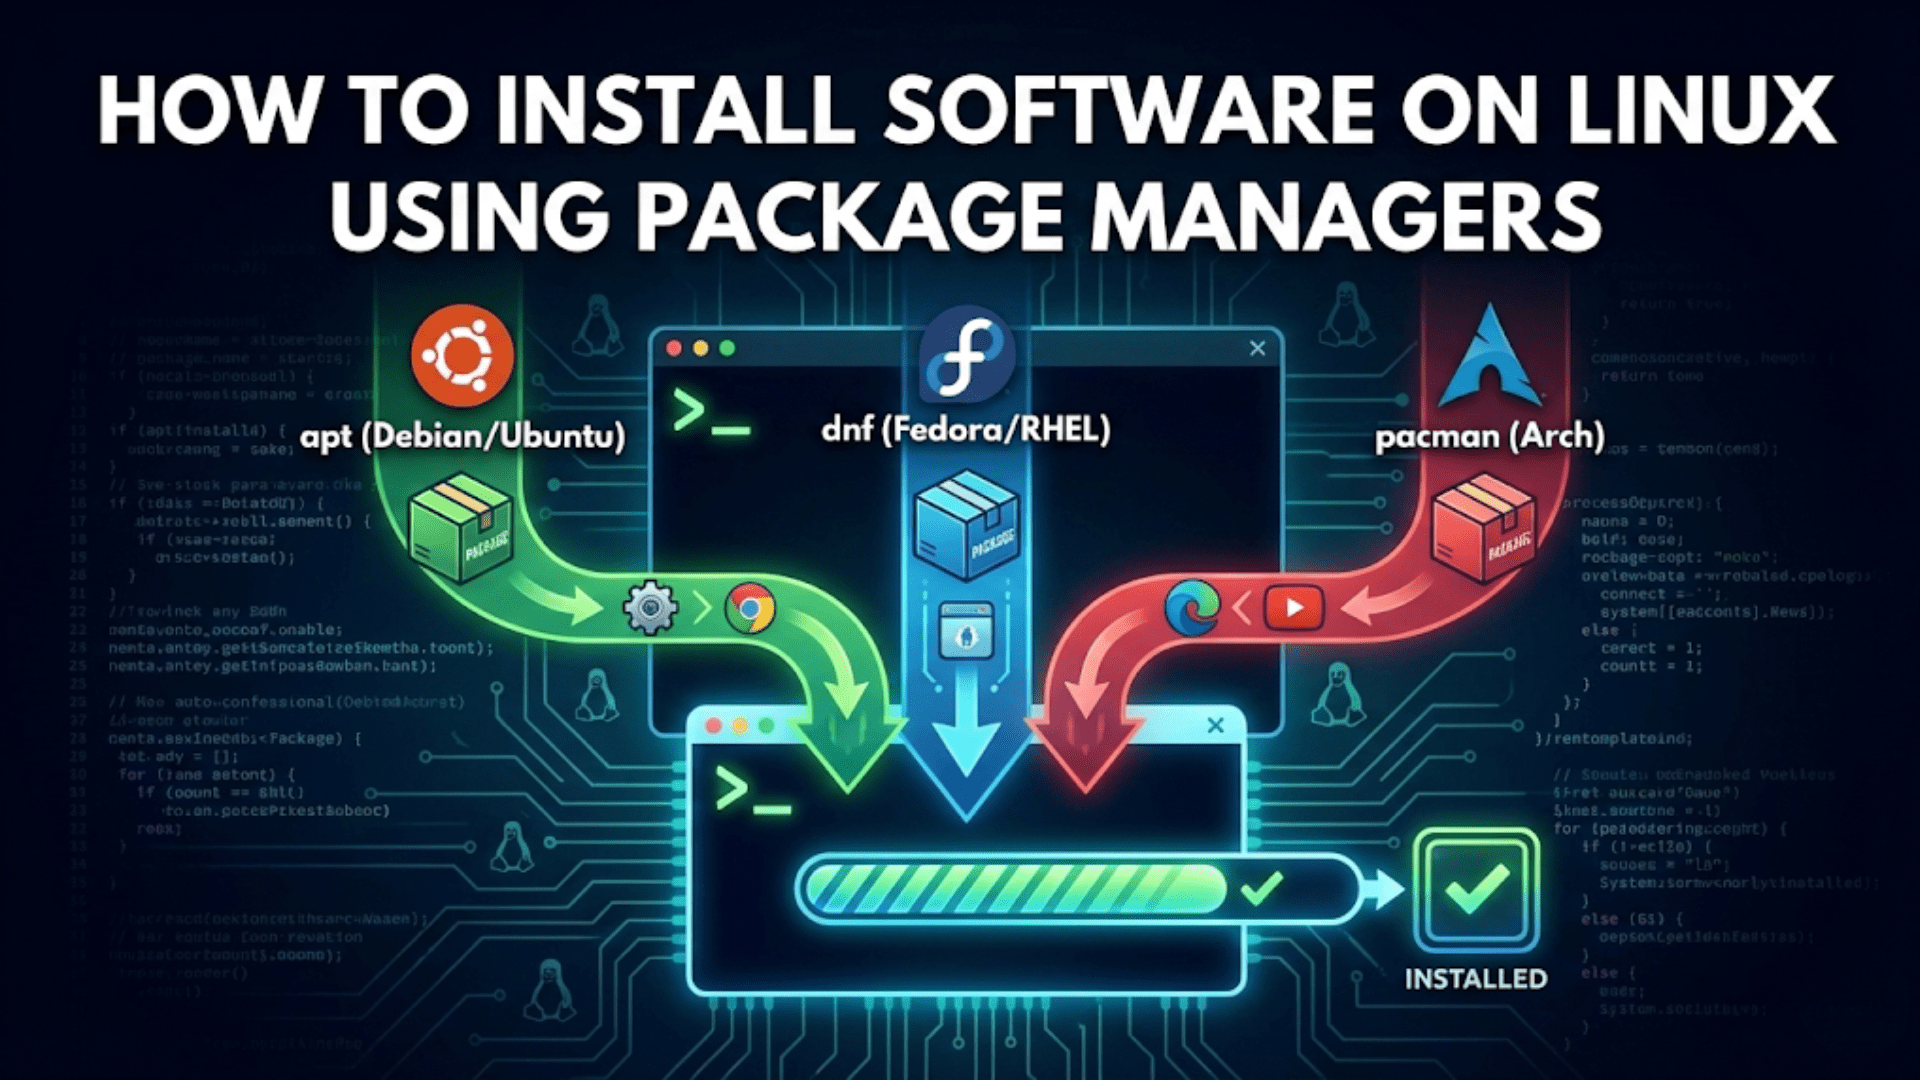
tar -xf arduino-<version>-linux64.tar.xzInstall Dependencies: Depending on your Linux distribution, you may need to install additional dependencies. Use the package manager specific to your distribution (e.g., apt, dnf, yum) to install required libraries.
Run the Installation Script: Navigate into the extracted Arduino folder and run the installation script:
cd arduino-<version>
sudo ./install.shLaunch the Arduino IDE: After the installation is complete, you can launch the Arduino IDE from your Applications menu or by typing arduino in the terminal.
Initial Configuration of the Arduino IDE

After installing the Arduino IDE, you need to configure it to work with your Arduino board. This initial configuration includes selecting your board type, setting the correct communication port, and ensuring that the necessary drivers are installed.
Steps to Configure the Arduino IDE:
- Open the Arduino IDE: Launch the Arduino IDE from your desktop shortcut or applications menu.
- Select Your Board: Go to
Tools > Boardand select the Arduino board you are using (e.g., Arduino Uno, Mega, Nano). This step tells the IDE which board profile to use when compiling and uploading code. - Select the Port: Connect your Arduino board to your computer using a USB cable. Go to
Tools > Portand select the COM port associated with your Arduino board. On Windows, it will typically appear as “COMx” (where x is a number). On macOS and Linux, it will appear as something like “/dev/ttyUSBx” or “/dev/ttyACMx.” - Install USB Drivers (if required): For most boards, the Arduino IDE automatically installs the necessary drivers. However, some boards, especially clones, may require additional drivers such as CH340 or CP2102. You can download these drivers from the manufacturer’s website and follow their installation instructions.
- Test Your Setup with an Example Sketch: To ensure everything is working correctly, upload a simple sketch to your board. Go to
File > Examples > 01.Basics > Blink. Click theUploadbutton (right-facing arrow) in the top-left corner of the IDE. If everything is set up correctly, the onboard LED on your Arduino should start blinking. - Check Serial Monitor: To communicate with your Arduino, open the Serial Monitor by clicking the magnifying glass icon in the top-right corner of the IDE or by going to
Tools > Serial Monitor. This tool allows you to send and receive data from your Arduino, making it invaluable for debugging and testing.
Customizing the Arduino IDE
The Arduino IDE allows you to customize its appearance and functionality to better suit your workflow. Here are a few ways to tailor the IDE to your needs:
- Change Editor Theme: You can modify the IDE’s appearance by changing its theme. To do this, go to
File > Preferencesand adjust the theme settings. You can download custom themes from the Arduino community to give your IDE a new look. - Adjust Font Size: If you find the default font size too small or too large, you can adjust it in the
Preferencesmenu under the “Editor Font Size” section. - Enable Line Numbers and Code Highlighting: For easier navigation, enable line numbers, syntax highlighting, and other coding aids by checking the relevant options in
File > Preferences. - Install Additional Libraries and Boards: The Arduino IDE supports a wide range of libraries and third-party boards. Use the Library Manager (
Sketch > Include Library > Manage Libraries…) and Boards Manager (Tools > Board > Boards Manager…) to install new libraries and board support packages directly from within the IDE. - Set Up Auto Save and Error Reporting: Enable auto-save to ensure you don’t lose your work (
File > Preferences). You can also adjust error reporting settings to get more detailed feedback when troubleshooting code.
Setting up and configuring the Arduino IDE properly ensures a smoother development experience, allowing you to focus on creating and experimenting with your Arduino projects without unnecessary setup hurdles.
Advanced Configuration and Troubleshooting the Arduino IDE
Installing Additional Boards and Libraries
The Arduino IDE supports not only the official Arduino boards but also a wide range of third-party boards and libraries that extend its functionality. Installing additional board support and libraries can greatly enhance your ability to work with different hardware and add complex features to your projects.
Installing Additional Boards:
The Arduino IDE comes pre-configured to support the most popular boards, such as the Arduino Uno, Mega, and Nano. However, you can add support for additional boards, including those from other manufacturers like ESP8266, ESP32, and STM32, through the Boards Manager.
Steps to Install Additional Boards:
- Open the Boards Manager: Go to
Tools > Board > Boards Manager…. This will open a window listing all available board packages that you can install. - Search for the Board Package: In the Boards Manager window, use the search bar to find the package for the board you want to install. For example, type “ESP8266” to find the ESP8266 core package.
- Install the Board Package: Click on the board package that you want to install, then click the “Install” button. The IDE will download and install the necessary files, which may take a few minutes depending on your internet speed.
- Select Your Board: Once the package is installed, you can select your board by going to
Tools > Boardand choosing the appropriate board from the list.
Installing Libraries:
Libraries are essential for adding advanced functionality to your Arduino projects, such as controlling displays, sensors, or other external components. The Arduino IDE includes a built-in Library Manager that makes installing libraries quick and easy.
Steps to Install Libraries:
Open the Library Manager: Go to Sketch > Include Library > Manage Libraries…. This will open the Library Manager window, where you can browse, install, and update libraries.
Search for the Library: Use the search bar to find the library you need. For example, if you need to control a servo motor, you can search for “Servo” to find the Servo library.
Install the Library: Click on the desired library from the search results and click the “Install” button. The library will be downloaded and installed automatically.
Include the Library in Your Sketch: To use the library in your code, include it at the beginning of your sketch using the #include directive. For example:
#include <Servo.h>Access Library Examples: Most libraries come with example sketches that demonstrate how to use them. Access these examples through File > Examples, then scroll to the library section to find pre-written code that can help you get started quickly.
Configuring Serial Communication in the Arduino IDE
Serial communication is a crucial aspect of Arduino development, allowing you to exchange data between your Arduino board and your computer. The Serial Monitor and Serial Plotter tools in the Arduino IDE provide a way to visualize and debug data in real time.
Using the Serial Monitor:
The Serial Monitor is a built-in tool that allows you to send and receive text-based data to and from your Arduino. It’s commonly used for debugging, testing, and interacting with your Arduino during development.
- Open the Serial Monitor: Click the magnifying glass icon in the top-right corner of the Arduino IDE or go to
Tools > Serial Monitor. A new window will open, displaying data from your Arduino. - Set the Baud Rate: Ensure that the baud rate in the Serial Monitor matches the baud rate set in your sketch (e.g.,
Serial.begin(9600);). The baud rate determines how fast data is transmitted and must match between your Arduino and the Serial Monitor for proper communication. - Send and Receive Data: Use the text input box at the top of the Serial Monitor to send commands or data to your Arduino. You can use the
Serial.print()andSerial.println()functions in your sketch to send data from the Arduino to the Serial Monitor.
Using the Serial Plotter:
The Serial Plotter is another useful tool that visualizes data in a graphical format, making it ideal for monitoring real-time sensor data or other variables in your sketch.
Open the Serial Plotter: Go to Tools > Serial Plotter. The plotter will display incoming data as a real-time graph.
Format Your Data for Plotting: To plot data, use Serial.println() to print the data you want to visualize, ensuring that each variable is separated by a space or tab. For example:
int sensorValue = analogRead(A0);
Serial.print("Sensor: ");
Serial.println(sensorValue);Adjust Plot Settings: The Serial Plotter will automatically adjust the graph based on incoming data. Use it to visualize trends, debug real-time processes, and analyze the performance of your code.
Common Troubleshooting Tips for the Arduino IDE
While the Arduino IDE is generally reliable, you may encounter issues during setup, coding, or uploading sketches. Here are some common problems and their solutions:
1. Arduino Board Not Detected:
- Problem: Your Arduino board does not appear in the Ports menu or the IDE cannot communicate with it.
- Solution:
- Ensure the USB cable is securely connected to both the Arduino and your computer.
- Try a different USB cable, as some cables only provide power and do not support data transfer.
- Install the correct USB drivers if using a third-party or clone board (e.g., CH340 or CP2102 drivers).
2. Upload Errors:
- Problem: The IDE fails to upload sketches to the board, often showing an error message like “avrdude: stk500_recv() programmer is not responding.”
- Solution:
- Double-check that you have selected the correct board and port in the
Toolsmenu. - Press the reset button on the Arduino before uploading to establish a clean communication state.
- Ensure no other programs are using the same COM port, such as other serial monitors or software.
- Double-check that you have selected the correct board and port in the
3. Compilation Errors:
- Problem: Your code fails to compile due to syntax errors or missing libraries.
- Solution:
- Review the error messages displayed in the output console to identify the source of the problem.
- Check for typos, missing semicolons, or unmatched brackets in your code.
- Ensure all necessary libraries are installed and correctly included in your sketch.
4. Sketch Too Large:
- Problem: The code is too large to fit in the available flash memory of your Arduino board.
- Solution:
- Optimize your code by removing unnecessary variables, functions, or unused libraries.
- Use data types that consume less memory, such as
byteinstead ofintwhen appropriate. - Consider using a board with more flash memory, such as the Arduino Mega.
5. Serial Communication Issues:
- Problem: Data sent to or from the Serial Monitor appears garbled or unreadable.
- Solution:
- Ensure the baud rate setting in the Serial Monitor matches the baud rate specified in your code (
Serial.begin(9600);). - Check for potential data formatting issues in your sketch that might cause unexpected results.
- Ensure the baud rate setting in the Serial Monitor matches the baud rate specified in your code (
6. Unexpected Behavior or No Response:
- Problem: The Arduino board does not behave as expected or does not respond to inputs.
- Solution:
- Verify that all connections are correct, including proper grounding and secure wiring of components.
- Use the Serial Monitor to add debug statements (
Serial.println()) at various points in your code to track execution flow and variable values.
Optimizing the Arduino IDE for Better Performance
For advanced users, optimizing the Arduino IDE can improve your coding experience and project performance. Here are some tips to enhance the functionality of your IDE:
- Increase Upload Speed: By default, the IDE uses a conservative upload speed to ensure reliable communication with the board. You can increase the speed by editing the
boards.txtconfiguration file, but be cautious as this may cause upload errors on some systems. - Use External Editors: If you prefer coding in a different text editor, you can enable the use of external editors in
File > Preferences. This allows you to write and edit code in another program while using the Arduino IDE for compilation and uploading. - Keyboard Shortcuts: Familiarize yourself with IDE shortcuts to speed up your workflow. Common shortcuts include:
- Ctrl+R (Cmd+R on macOS): Verify/compile the code.
- Ctrl+U (Cmd+U on macOS): Upload the code to the board.
- Ctrl+Shift+M (Cmd+Shift+M on macOS): Open the Serial Monitor.
- Auto Format Code: Use the
Ctrl+T(Cmd+T on macOS) shortcut to auto-format your code, making it more readable by properly aligning and spacing lines. - Backup Your Preferences and Libraries: To prevent data loss, regularly back up your Arduino sketchbook folder, which contains your projects, libraries, and configuration settings. This is especially important before updating the IDE or switching to a new computer.
By understanding the configuration options, common troubleshooting techniques, and performance optimization strategies, you can make the most of the Arduino IDE, enhancing your programming experience and ensuring your projects run smoothly.
Advanced Features and Customization of the Arduino IDE
Using External Tools and Plugins with the Arduino IDE
The Arduino IDE is designed to be flexible and extendable, allowing advanced users to incorporate external tools and plugins that can significantly enhance the development process. By integrating these tools, you can add new features, streamline your workflow, and improve your coding experience.
1. Using External Debuggers: Debugging is an essential part of software development, but the standard Arduino IDE lacks built-in debugging tools. However, you can integrate external debuggers such as Visual Studio Code with PlatformIO, or use hardware debuggers like the Atmel-ICE or J-Link.
- PlatformIO Integration: PlatformIO is an open-source ecosystem that works with various embedded platforms, including Arduino. It provides advanced debugging capabilities, code navigation, and a powerful build system. You can use it within Visual Studio Code, which offers a more sophisticated coding environment compared to the default Arduino IDE.
- Setting Up PlatformIO with Arduino:
- Install Visual Studio Code from the official website.
- Open Visual Studio Code and go to
Extensions(four squares icon on the sidebar). - Search for “PlatformIO IDE” and click “Install.”
- Once installed, PlatformIO will set up a development environment that supports Arduino and other microcontroller platforms, with advanced debugging, code completion, and error checking features.
2. Adding Board Definitions Manually: While the Arduino IDE’s Boards Manager covers most commonly used boards, there may be times when you need to add a custom board definition manually.
- Manual Installation of Board Definitions:
- Find the URL for the board’s JSON file provided by the board manufacturer or community.
- Go to
File > Preferencesin the Arduino IDE. - Under “Additional Board Manager URLs,” paste the URL of the board definition. You can add multiple URLs separated by commas.
- Restart the Arduino IDE, go to
Tools > Board > Boards Manager…, and search for your newly added board definition.
3. Using Makefile Integration: For those who prefer command-line tools or need to automate the build process, the Arduino IDE can be used with Makefiles. This allows you to compile and upload sketches from the terminal, integrate Arduino projects into larger software builds, or use version control systems like Git more effectively.
- Setting Up Makefile for Arduino:
- Create a
Makefilein your Arduino sketch folder. - Define variables such as the board type, port, and Arduino directory paths.
- Use terminal commands like
maketo compile andmake uploadto upload the sketch to your board.
- Create a
4. Customizing IDE Appearance with Themes: The Arduino IDE’s visual appearance can be customized by modifying themes. You can change the color scheme, font size, and syntax highlighting to suit your preferences, making coding more comfortable and visually appealing.
- Changing the Theme:
- Navigate to the Arduino IDE installation directory (
<installation_folder>/lib/theme). - Back up the existing theme files before making any changes.
- Replace the existing theme files with your customized theme files or download a new theme from online Arduino forums and communities.
- Restart the Arduino IDE to apply the new theme.
- Navigate to the Arduino IDE installation directory (
Leveraging the Arduino IDE’s Built-in Tools
The Arduino IDE comes with several built-in tools that can enhance your development process, especially when dealing with hardware interfacing, debugging, and project management.
1. Serial Plotter for Real-Time Data Visualization: The Serial Plotter is a built-in tool that graphically displays data coming from your Arduino, which is useful for monitoring sensor outputs, debugging control systems, and visualizing data trends in real time.
- Using the Serial Plotter:
- Open the Serial Plotter by going to
Tools > Serial Plotter. - Send data from your Arduino using
Serial.println()formatted in a way that separates multiple data streams with spaces or tabs. - Use the plot to visualize live data, compare multiple variables, and identify patterns or anomalies.
- Open the Serial Plotter by going to
2. Auto Format for Clean and Consistent Code: Maintaining clean and readable code is crucial for project success, especially as your sketches grow in complexity. The Arduino IDE includes an Auto Format tool that automatically adjusts the indentation and spacing of your code.
- Using Auto Format:
- Simply press
Ctrl+T(Cmd+T on macOS) to auto-format your sketch. - This feature helps enforce coding standards, making your code easier to read and debug, especially when collaborating with others.
- Simply press
3. Export Compiled Binary: The Arduino IDE allows you to export a compiled binary of your sketch, which can then be uploaded to your board without recompiling. This is useful for deployment or when you need to distribute the binary to users who do not have the Arduino IDE installed.
- How to Export Compiled Binary:
- Compile your sketch by clicking the checkmark button (Verify).
- Once compiled, go to
Sketch > Export Compiled Binary. The binary file will be saved in the sketch folder, ready for direct upload using command-line tools or other software.
4. Burn Bootloader: If you are working with custom or cloned Arduino boards, you may need to burn the bootloader onto the microcontroller to enable communication with the IDE. The bootloader is a small program that allows your board to receive new sketches via the USB port.
- Burning the Bootloader:
- Connect your Arduino board to a programmer (such as another Arduino configured as an ISP).
- Select the target board under
Tools > Boardand the appropriate programmer underTools > Programmer. - Click
Tools > Burn Bootloaderto write the bootloader to your board.
Keeping the Arduino IDE Updated
Keeping the Arduino IDE up-to-date ensures that you have the latest features, bug fixes, and support for new boards. Regular updates also improve stability and compatibility with new operating systems and hardware.
How to Update the Arduino IDE:
- Check for Updates: The Arduino IDE will notify you of new updates automatically, but you can also manually check for updates by visiting the official Arduino download page.
- Download the Latest Version: Download the latest version of the IDE for your operating system.
- Install Over the Existing Version: You can safely install the new version over the old one without losing your existing settings, libraries, or preferences.
Exploring Arduino IDE Alternatives
While the standard Arduino IDE is sufficient for most beginners, alternative IDEs and text editors can offer additional functionality, customization, and efficiency for more advanced users.
1. Arduino Pro IDE: Arduino Pro IDE is an official, more advanced version of the standard IDE, designed for professional developers. It offers features like code auto-completion, advanced debugging tools, Git integration, and a modern user interface.
- Key Features of Arduino Pro IDE:
- Integrated debugger for supported boards.
- Enhanced project management and code navigation.
- Dark mode and customizable interface.
2. Visual Studio Code with Arduino Extension: Visual Studio Code is a popular text editor that can be extended with the Arduino extension to provide a more robust coding environment. This setup offers advanced features such as IntelliSense, syntax highlighting, and support for multiple programming languages.
- Key Benefits:
- Rich code navigation and refactoring tools.
- Integrated terminal for command-line operations.
- Extensive plugin ecosystem to support various workflows.
3. PlatformIO IDE: PlatformIO is a fully integrated development environment that supports not just Arduino but multiple microcontroller platforms. It provides advanced debugging, code analysis, and project organization tools.
- Key Benefits:
- Advanced library management.
- Cross-platform development and deployment.
- Excellent support for continuous integration (CI) workflows.
Conclusion
Setting up the Arduino IDE is the first step in your Arduino journey, but fully configuring and customizing the IDE can greatly enhance your coding experience and project outcomes. Whether you’re installing additional boards, integrating advanced debugging tools, or leveraging the IDE’s built-in features, taking the time to optimize your setup will pay dividends in the long run.
As Arduino continues to evolve, so too does the development environment, offering new tools, features, and possibilities for makers, students, and professionals alike. Staying up-to-date with the latest updates, exploring alternative IDEs, and utilizing external tools can help you unlock the full potential of Arduino, enabling you to create innovative projects with greater ease and efficiency.