Introduction
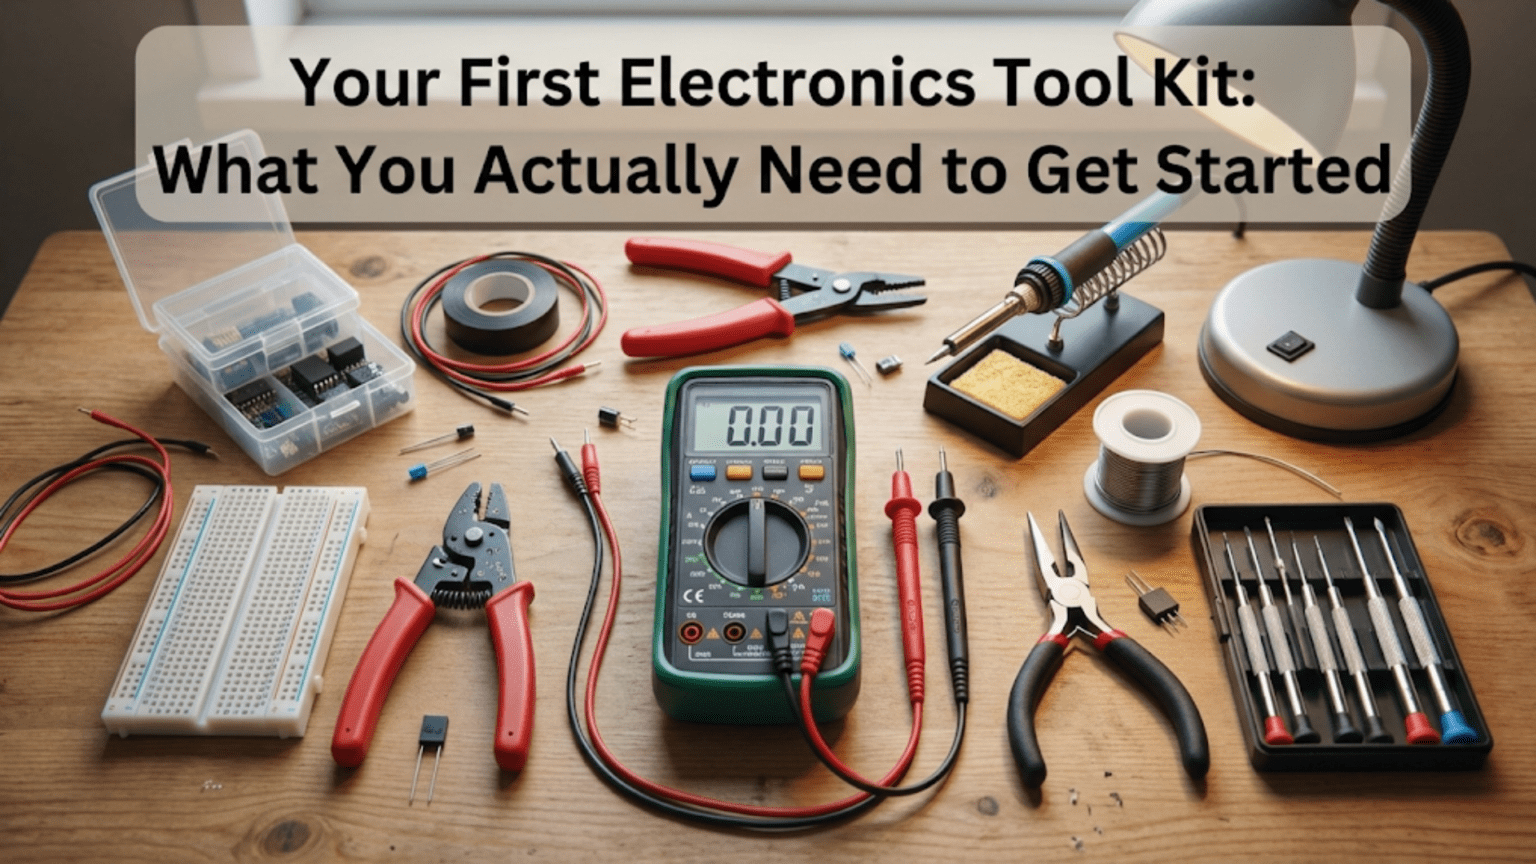
Starting electronics can feel overwhelming when browsing online stores or walking into electronics shops confronted with thousands of tools and accessories, many with unfamiliar names and unclear purposes, creating paralysis as beginners struggle to distinguish essential tools from specialized equipment they will not need for months or years. The good news is that electronics beginners actually need surprisingly few tools to start learning and building circuits, with a modest investment of perhaps fifty to one hundred dollars providing everything necessary for months of productive experimentation and skill development. Understanding which tools are truly essential versus merely nice to have, what quality levels make sense for beginners learning skills versus professionals demanding daily reliability, and how to prioritize purchases when budgets are limited transforms tool acquisition from a confusing obstacle into a straightforward checklist enabling immediate project starts.
The distinction between essential tools you will use in nearly every project and specialized tools needed only occasionally or for advanced work guides smart tool purchasing that maximizes value while minimizing unnecessary spending on equipment that will sit unused. A multimeter represents an essential tool because nearly every electronics project eventually requires measuring voltage, current, or resistance to verify correct operation or troubleshoot problems. Wire strippers are essential because working with wire is fundamental to electronics, whether breadboarding circuits or making permanent connections. A soldering iron becomes essential once you progress beyond breadboard prototypes to permanent construction. In contrast, an oscilloscope, though useful for many applications, is not essential for beginners who can learn fundamental concepts and build many projects successfully without ever needing to visualize voltage waveforms over time.
Quality considerations balance performance and durability against cost and value for beginners who are learning and may not yet know whether they will pursue electronics seriously enough to justify professional-grade tools. An inexpensive multimeter costing twenty dollars provides adequate accuracy and functionality for beginner projects despite lacking the precision, features, and durability of a two hundred dollar professional meter that would be wasted on someone just learning to measure voltage. Similarly, a basic soldering station costing forty dollars works perfectly fine for learning soldering techniques and building initial projects, while a two hundred dollar temperature-controlled station with digital displays and advanced features provides marginal benefits to beginners who have not yet developed the skills to exploit those capabilities. The strategy is buying adequate tools now while planning to upgrade later if continued interest and skill development justify better equipment.
The organization of your first toolkit reflects a logical progression from tools needed immediately for breadboard prototyping through tools required as you advance to soldering and permanent construction, and finally to measurement and testing equipment that becomes more important as circuits grow more complex and troubleshooting becomes necessary. This progression allows spreading purchases over time, buying immediate needs first while deferring purchases of tools you will not need for weeks or months. A beginner starting with simple breadboard circuits needs jumper wires, a breadboard, and basic components before needing soldering equipment. Only after building several breadboard projects and deciding to create permanent versions does soldering equipment become necessary, allowing that purchase to wait until actual need rather than buying everything simultaneously.
This comprehensive guide will build your understanding of essential electronics tools from immediate necessities through progressive additions, examining what each tool does and why you need it, what quality and features matter for beginners versus what represents unnecessary expense, specific buying recommendations at various price points, and how to prioritize purchases when assembling your toolkit gradually rather than all at once. By the end, you will understand which tools to buy first, what to look for when selecting tools, and how to build a capable toolkit supporting months or years of electronics learning and project building without wasting money on unnecessary equipment or inadequate tools that frustrate rather than enable progress.
Essential Measurement Tool: The Digital Multimeter
The multimeter is arguably the single most important tool in any electronics toolkit because it enables measuring voltage, current, and resistance—the three fundamental electrical quantities—plus testing continuity, checking diodes, and often additional functions like capacitance measurement or transistor testing, all in one affordable instrument.
What Multimeters Measure and Why This Matters
Digital multimeters, often abbreviated DMM, measure voltage in both DC and AC ranges, current in both DC and AC ranges, and resistance across multiple scales from ohms through megohms. These three basic measurements enable verifying that power supplies deliver expected voltages, confirming that circuits draw anticipated currents, checking resistor values to ensure correct components are installed, and testing whether connections conduct electricity as intended or remain open circuits. Without a multimeter, electronics becomes largely guesswork because you cannot verify that voltages, currents, and resistances match design expectations or diagnose problems when circuits fail to work.
The voltage measurement capability allows checking battery voltages to verify fresh batteries deliver adequate voltage, measuring power supply outputs to confirm regulation works correctly, and probing circuit nodes to trace signals and verify expected voltage levels at different points. The current measurement capability enables verifying that circuits draw expected current from power supplies, checking that current-limiting resistors actually limit current to safe values, and ensuring that components are not drawing excessive current indicating problems. The resistance measurement allows verifying resistor values match color codes, checking for short circuits where resistance should measure infinite, and testing continuity where connections should have near-zero resistance.
Beyond these three basic functions, most multimeters include continuity testing mode that beeps when resistance between probes is very low, enabling quick verification that wires are connected without watching the display. This audible feedback dramatically speeds verification when checking many connections because you can listen for the beep rather than reading resistance values. Diode testing mode applies small test voltage and measures forward voltage drop, enabling verification that diodes and LEDs are functional and properly oriented. Some multimeters add capacitance measurement, transistor testing sockets, frequency measurement, or temperature measurement with optional probes, but these additional features are not essential for beginners.
Selecting Your First Multimeter
For beginners, an inexpensive digital multimeter in the twenty to forty dollar range provides entirely adequate performance for learning electronics and building projects. These basic meters measure voltage, current, and resistance with accuracy sufficient for hobbyist work, include continuity and diode testing, and often measure capacitance as a bonus feature. The accuracy specifications—typically one to two percent for DC voltage and current, slightly worse for AC and resistance—exceed the precision of component tolerances and breadboard construction, making meter accuracy rarely the limiting factor in beginner circuits.
Popular beginner multimeter choices include the UNI-T UT33 series priced around fifteen to twenty dollars providing basic but functional performance, the Etekcity MSR-R500 around twenty dollars with auto-ranging making it easier to use, and the AstroAI AM33D around twenty-five dollars featuring large display and auto-ranging. Moving up to forty to sixty dollars brings significant quality improvements including the Klein Tools MM400 with better build quality and safety ratings, or the Fluke 101 offering Fluke quality and accuracy at entry-level pricing. These meters serve beginners well through many projects before skill development and expanding needs justify upgrading to more sophisticated meters.
Features worth paying modest premiums for include auto-ranging which automatically selects appropriate measurement range eliminating the need to manually switch ranges, backlit displays enabling meter reading in dim lighting conditions, and rubber holsters protecting meters from drops and making them easier to grip. Safety certification to CAT II or CAT III standards indicates the meter can safely measure voltages in residential electrical systems if you eventually need that capability, though most electronics work operates at voltages well below hazardous levels. Conversely, expensive features like wireless connectivity, bar graphs, and advanced mathematical functions provide minimal value to beginners learning basic measurement techniques.
Proper Multimeter Use and Maintenance
Learning to use multimeters correctly prevents damage to meters and ensures accurate measurements. Always verify the meter is set to the correct function and range before connecting to circuits—measuring voltage with the meter set to current mode can damage the meter or blow its fuse because current mode presents very low resistance that shorts circuits when connected in parallel like voltage measurements. The leads must connect to the correct jacks for the selected function, with voltage and resistance typically using the common and voltage jacks while current measurement requires moving the red lead to the current jack.
Start voltage measurements at the highest range and work downward to find the range providing best resolution without overloading the meter, or use auto-ranging meters that handle this automatically. For current measurements, break the circuit and insert the meter in series with the current path, being careful not to exceed the meter’s current rating which might be as low as two hundred milliamps for small meters or ten to twenty amperes for meters with high-current capabilities. Many cheap meters have blown fuses from careless current measurement exceeding ratings, so always estimate expected current and verify the meter can handle it before connecting.
Maintenance involves replacing batteries when the low battery indicator appears or when readings become erratic, checking test lead continuity periodically by measuring resistance between probe tips and verifying near-zero resistance, and storing the meter in a protective case preventing damage from impacts or contamination. Test leads wear out over time as probe tips oxidize or internal wiring breaks, so having spare test leads ensures measurement capability continues even when leads degrade. Quality test leads with sharp fine tips and flexible wire cost fifteen to twenty dollars but last years with reasonable care.
Breadboard and Wire Working Tools
Building circuits requires platforms to mount components and tools to prepare and connect wires, making breadboards, wire strippers, and cutters essential early purchases.
Breadboards: Solderless Prototyping Platforms
Quality breadboards with eight hundred thirty tie points representing half of a standard full-size breadboard provide ample space for most beginner circuits while remaining affordable at five to ten dollars each. The tie point count indicates how many individual holes are available for component insertion, with higher counts providing more building space. Full-size breadboards with seventeen hundred tie points cost slightly more but enable larger circuits or multiple circuits side by side. Smaller mini breadboards with one hundred seventy to four hundred tie points cost less but constrain circuit size, making them suitable only for very simple projects.
Quality matters in breadboards because cheap breadboards with loose contacts create intermittent connections that make circuits unreliable and difficult to troubleshoot, while better breadboards with proper spring tension grip component leads securely creating reliable connections. Testing breadboard quality by inserting and removing solid wire in several holes and verifying firm grip without excessive force gives confidence the breadboard will function reliably. Brand name breadboards from manufacturers like BusBoard, Twin Industries, or 3M cost more but provide reliable performance, while generic Chinese breadboards vary wildly with some being perfectly adequate and others having terrible contacts.
Multiple breadboards enable building separate circuit sections that later connect together, or keeping previous projects assembled while starting new ones. Buying two or three medium-size breadboards initially provides flexibility and costs little more than buying one, deferring the need to disassemble working circuits when starting new projects. Some breadboards feature power rails on only one side or have rails split in the middle requiring jumpers to distribute power, so checking breadboard specifications ensures you understand the layout before discovering limitations during circuit construction.
Wire Strippers: Essential for Wire Preparation
Wire strippers remove insulation from wire ends exposing bare conductor for insertion in breadboards or soldering to components. Manual strippers with notches sized for different wire gauges cost ten to fifteen dollars and work perfectly well for beginners learning wire preparation. The technique involves selecting the notch matching wire gauge, placing wire in the notch with insulation extending beyond the stripper blades, squeezing handles to cut through insulation without cutting the conductor, then pulling the stripper off the wire end removing the cut insulation sleeve.
Automatic wire strippers costing twenty to thirty-five dollars grip the wire, squeeze to cut insulation, and automatically pull cut insulation off the wire in one motion, making wire stripping faster and easier than manual strippers. These are worthwhile investments for anyone planning to build many circuits requiring extensive wire work, though manual strippers suffice for occasional use. Self-adjusting wire strippers like the Irwin Vise-Grip series adjust to wire size automatically eliminating the need to select the correct notch, further simplifying wire stripping though at slightly higher cost than fixed-notch manual strippers.
Proper wire stripping removes insulation without nicking or cutting conductor strands because damaged conductors break easily at the nick point creating unreliable connections. Practice on scrap wire until you can consistently strip insulation cleanly, then apply that skill to actual circuit wiring. Over-stripping exposing excessive bare wire creates short circuit hazards when wires touch, while under-stripping leaves insufficient bare wire for reliable connections. Stripping one-quarter to three-eighths inch of insulation typically provides adequate bare wire for breadboard insertion or soldering without creating excessive exposed conductor.
Wire Cutters and Jumper Wire
Diagonal cutters or flush cutters costing eight to fifteen dollars cut wire and component leads, enabling trimming wire to length and cutting component leads after soldering. Flush cutters leave flat cut surfaces on component leads while diagonal cutters leave angled points, making flush cutters preferable when cut surface appearance matters or when cutting must be very close to circuit boards. Either type works fine for general wire cutting and component lead trimming during prototyping.
Solid-core twenty-two or twenty-four gauge wire in various colors provides the raw material for creating custom-length jumper wires connecting breadboard components. Buying wire in multiple colors—red for positive voltage, black for ground, and several other colors for signals—simplifies visual circuit tracing and reduces wiring errors. Pre-cut jumper wire kits with wires in standard lengths from one-half inch to several inches eliminate the need to cut and strip custom wires for every connection, speeding breadboard construction though at higher cost than bulk wire. A combination approach keeps bulk wire for custom lengths while using pre-cut jumpers for standard connections balances convenience and economy.
Stranded wire bends more easily than solid wire making it suitable for wiring that flexes repeatedly, but individual strands can separate and short to adjacent breadboard rows or create loose connections if not twisted tightly or tinned with solder. For breadboard work, solid wire’s rigidity and reliability generally outweigh stranded wire’s flexibility. Use stranded wire for connections to components that move or for wiring that routes through tight spaces requiring repeated bending, but prefer solid wire for breadboard jumpers and fixed internal wiring.
Soldering Equipment
Once breadboard prototypes prove functional and you are ready to create permanent versions, soldering equipment becomes necessary for making reliable permanent connections.
Soldering Irons and Stations
Basic soldering irons without temperature control cost ten to twenty dollars and work adequately for occasional hobby soldering, though their lack of temperature regulation makes them somewhat difficult to use because tip temperature varies with thermal load affecting solder flow and joint quality. Better are temperature-controlled soldering stations with adjustable temperature settings maintaining constant tip temperature regardless of thermal load, providing consistent soldering conditions that improve joint quality and make soldering easier to learn. Entry-level temperature-controlled stations like the Weller WLC100 at forty dollars or the Hakko FX888D at one hundred dollars provide reliable performance suitable for years of hobby use.
The ideal soldering iron tip temperature for electronics soldering with leaded solder falls around six hundred fifty to seven hundred degrees Fahrenheit, while lead-free solder requires seven hundred to seven hundred fifty degrees. Temperature-controlled stations maintain these temperatures precisely, while unregulated irons run hotter when idle and cooler during soldering depending on heat conduction into the work. This temperature variation makes timing critical with unregulated irons as you wait for temperature recovery between joints, while regulated stations allow continuous soldering at consistent temperature.
Soldering iron tips come in various sizes and shapes, with general-purpose conical tips or chisel tips working well for most hobbyist soldering. Fine conical tips suit fine-pitch surface mount work but lack thermal mass for larger joints, while large chisel tips heat large joints easily but are unwieldy for fine work. Starting with a medium chisel tip like one-sixteenth or three thirty-seconds inch wide provides versatility for typical through-hole component soldering, with additional tips purchased later as specific needs arise. Tips cost five to fifteen dollars and gradually wear out requiring periodic replacement as the plating erodes and the copper core oxidizes.
Solder Selection
Rosin-core leaded solder in sixty-forty tin-lead ratio or sixty-three thirty-seven eutectic composition provides easiest learning soldering because it melts at low temperature, flows smoothly, and wets readily to copper. The rosin flux integrated in the solder core cleans oxidation and promotes solder wetting, eliminating the need for separate flux in most hobby applications. Common diameters include zero-point-zero-three-one inch for fine work and zero-point-zero-six-two inch for general purpose soldering, with the thinner diameter providing better control for small joints and the thicker diameter speeding soldering of larger joints by delivering more solder per unit length.
Lead-free solder meeting RoHS regulations uses tin-silver-copper alloys avoiding lead’s health and environmental concerns while providing adequate performance despite higher melting temperature and slightly worse wetting compared to leaded solder. Beginners generally find leaded solder easier to learn with, transitioning to lead-free later if required by regulations or personal preference. Both types work for hobby electronics, with choice depending on local regulations, environmental concerns, and personal preferences balancing ease of use against environmental responsibility.
Purchasing solder in one-pound spools costs less per unit weight than small tubes but requires significant upfront investment, while four-ounce or eight-ounce packages provide adequate solder for many projects at reasonable cost. Solder lasts years when stored properly, so buying larger quantities when budget allows reduces long-term costs. Avoid very cheap solder from unknown sources because poor quality control can result in contaminated solder that does not flow properly or creates unreliable joints.
Soldering Accessories
Sponges or brass wire solder tip cleaners remove oxidation and excess solder from tips, maintaining tip cleanliness that promotes heat transfer and solder flow. Damp cellulose sponges work adequately though they thermally shock tips potentially shortening life, while brass wire cleaners provide tip cleaning without temperature cycling. Most soldering stations include sponges or wire cleaners, though replacements cost just a few dollars when needed.
Helping hands with alligator clips or weighted bases hold circuit boards and components during soldering, freeing both hands for iron and solder. These cost ten to twenty dollars and dramatically ease soldering compared to trying to hold work in one hand while manipulating iron and solder with the other. Adjustable arms with ball joints allow positioning work at comfortable angles improving visibility and access to solder joints.
Desoldering tools including solder wick braided copper wire that wicks molten solder away from joints through capillary action, and spring-loaded solder suckers that vacuum molten solder from joints when triggered, enable removing solder to extract components or correct mistakes. Solder wick costs a few dollars per spool and works well for surface mount work and small through-hole joints, while solder suckers costing five to ten dollars excel at clearing through-holes for component removal. Having both tools available provides flexibility for various desoldering tasks.
Component Assortments
Building circuits requires components including resistors, capacitors, LEDs, transistors, and integrated circuits, with starter assortments providing variety at lower cost than purchasing individual components as needed.
Resistor Assortments
Resistor kits containing common values from tens of ohms through several megohms in one-quarter watt or one-half watt power ratings provide the components needed for most beginner circuits. Kits with five hundred to one thousand resistors spanning common E12 or E24 value series cost fifteen to thirty dollars and supply resistors for dozens of projects before depletion. Individual resistor values cost pennies each when purchased in quantity, but buying individual values separately for each project quickly exceeds the cost of a comprehensive assortment.
Quality resistor kits contain resistors with correct color code markings matching actual measured values within stated tolerances, typically five percent for general purpose resistors. Cheap kits sometimes contain mislabeled resistors where color codes do not match measured values, frustrating circuit construction when components do not perform as expected. Purchasing from reputable sources like electronics distributors rather than random sellers on marketplace sites improves likelihood of receiving properly labeled components, though always verifying a few resistor values with a multimeter before trusting color codes provides confidence the kit contains accurately labeled parts.
Capacitor and Miscellaneous Component Kits
Ceramic capacitors in values from picofarads through microfarads provide AC coupling, decoupling, and filtering functions in many circuits, making capacitor assortments valuable additions to component inventory. Electrolytic capacitors in larger values from microfarads through thousands of microfarads suit power supply filtering and energy storage applications. Combined capacitor kits with both types in various values cost twenty to thirty-five dollars and supply typical project needs.
LED assortments in various colors provide indicator lights and simple lighting projects, with kits of fifty to two hundred LEDs costing ten to fifteen dollars. Include some higher brightness LEDs for flashlight or lighting applications beyond simple indicators. Transistor assortments with general-purpose NPN and PNP types enable amplification and switching projects, while integrated circuit collections with 555 timers, op-amps, logic gates, and voltage regulators provide building blocks for more complex circuits. Starting with individual ICs for specific projects rather than large IC assortments makes sense because IC variety and requirements vary too widely to predict needs in advance.
Storage and Organization
Organizing components and tools prevents frustration searching for parts and protects components from damage during storage.
Component Storage Solutions
Plastic organizer boxes with adjustable compartments store resistors sorted by value, capacitors by type and value, and miscellaneous components by category. Boxes with ten to thirty compartments costing ten to twenty dollars provide adequate organization for beginner component collections, scaling to larger boxes as component inventory grows. Label compartments clearly so components remain identifiable after initial sorting, using label makers or adhesive labels with value ranges written clearly.
Small drawers or cabinet units with multiple drawers provide alternative storage for larger component collections, with each drawer dedicated to a component value range or category. These cost more than plastic boxes but offer easier access and better protection for components, justifying higher cost as collections grow. Resist the temptation to store components loosely in bags or boxes without organization because searching for specific values becomes tedious and time-consuming as collections grow.
Tool Storage
Tool boxes or bags keep tools organized and portable, protecting them from damage and making them easy to transport to different work locations. Simple plastic toolboxes costing ten to twenty dollars work perfectly well for basic tool sets, while professional tool bags with multiple compartments and sturdy construction suit extensive tool collections or frequent transportation. Pegboards or wall-mounted tool holders keep frequently used tools visible and accessible in fixed workshops where portability is less important than convenience.
Conclusion: Building Your Toolkit Progressively
Assembling your first electronics toolkit requires surprisingly modest investment, with a capable beginner set costing perhaps seventy-five to one hundred fifty dollars providing tools and components for months of learning and project building. Prioritizing purchases allows spreading costs over time, buying immediately necessary items first while deferring specialized tools until actual need arises. The multimeter deserves priority as the single most important tool enabling measurement and troubleshooting essential to electronics work, followed by breadboard and wire working tools enabling circuit construction, and finally soldering equipment once you progress beyond prototypes to permanent construction.
Quality considerations balance adequate performance for learning against unnecessary expense on professional-grade tools whose capabilities exceed beginner needs. Inexpensive but functional tools serve beginners perfectly well, with upgrades considered later if continued interest and skill development justify better equipment. The strategy is avoiding both the frustration of inadequate tools that impede learning and the waste of excessive spending on capabilities you will not use.
Component assortments provide variety at lower cost than individual purchases, though focusing initially on resistors, capacitors, and basic semiconductors defers investment in specialized components until specific projects require them. Organization from the start prevents the frustration of searching for parts as collections grow, making modest investment in storage pay dividends in time saved and frustration avoided.
This toolkit foundation enables immediate project starts and supports months or years of electronics learning, with additions made as needs arise and skills develop. The joy of electronics comes from building working circuits and seeing theory translate to practice, which these essential tools enable without requiring extensive investment or overwhelming equipment collections that intimidate rather than inspire.