

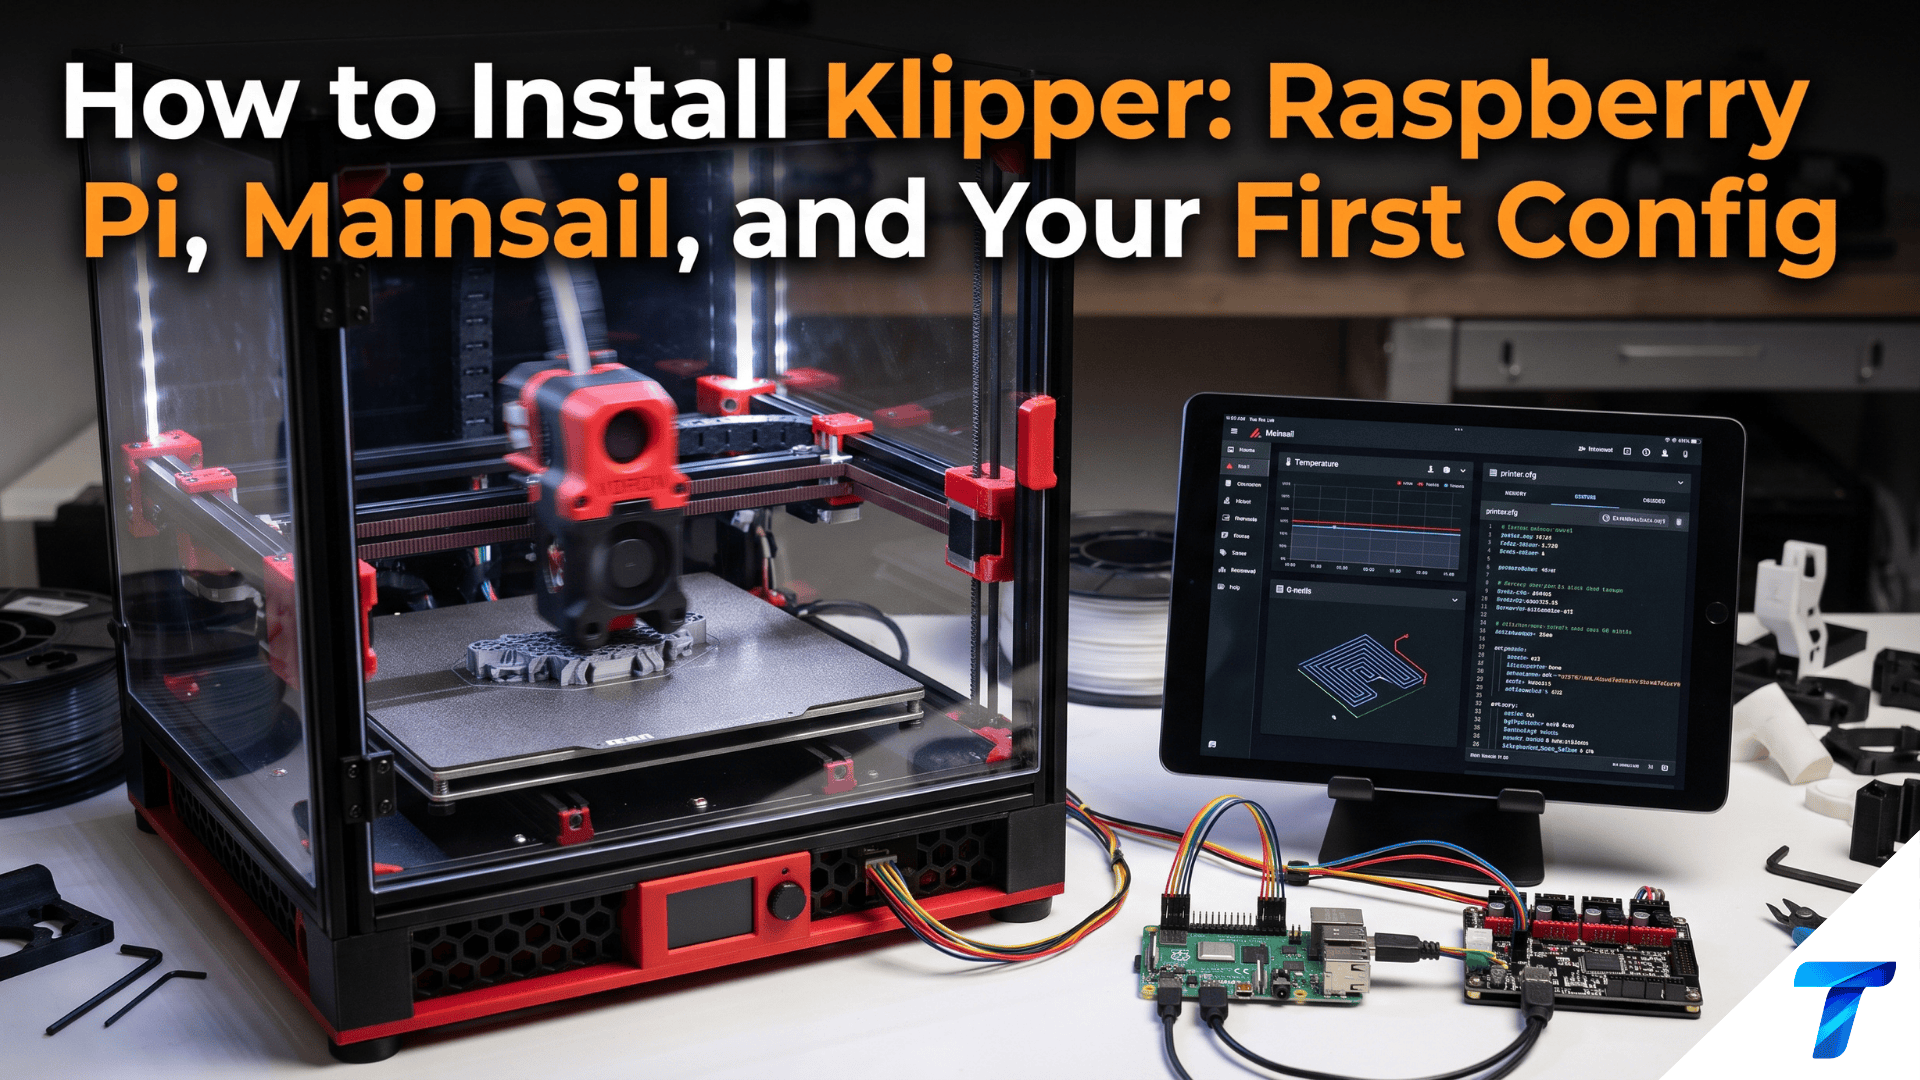

Klipper moves the heavy motion planning off your printer’s slow 8-bit or 32-bit board and onto a Raspberry Pi. The result is faster prints, cleaner corners, and a printer you configure by editing a text file instead of reflashing firmware. The whole setup takes about 60 to 90 minutes, and you can do it with a Pi, a microSD card, and a USB cable.
Quick Takeaways
- Fastest path: Flash Mainsail OS with Raspberry Pi Imager. Klipper, Moonraker, and the Mainsail web UI come preinstalled.
- Two firmware steps: Klipper runs on the Pi, and a small Klipper firmware runs on your printer’s mainboard (the MCU). Both are required.
- One file controls everything:
printer.cfgreplaces Marlin’s compiledConfiguration.h. Changes apply with a single restart, no reflashing. - Minimum hardware: A Raspberry Pi 3B+ or newer (Pi 4, Pi 5, and Zero 2 W all work), a 16 GB+ A1/A2 microSD card, and a quality power supply.
| Component | Role | Where it runs |
|---|---|---|
| Klipper (klippy) | Motion planning, kinematics, G-code processing | Raspberry Pi |
| Klipper firmware | Executes timed step commands | Printer mainboard (MCU) |
| Moonraker | API server connecting the UI to Klipper | Raspberry Pi |
| Mainsail | Browser-based control interface | Raspberry Pi (served over HTTP) |
What You Need Before You Start
| Item | Recommended spec | Notes |
|---|---|---|
| Single-board computer | Raspberry Pi 4 (2 GB+) or Pi 5 | Pi 3B+ and Zero 2 W work for a single printer |
| microSD card | 16-32 GB, A1/A2 rated, name brand | Cheap cards cause random corruption |
| Power supply | 5V 3A (Pi 4), 5V 5A (Pi 5) | Undervoltage causes disconnects mid-print |
| USB cable | Data-capable USB-A to printer’s USB port | Short, shielded cables reduce “lost communication” errors |
| Printer board | Any Klipper-supported MCU | STM32, RP2040, ATmega2560, and others are covered |
| Computer | Windows, macOS, or Linux | For flashing the SD card and SSH |
Check that your board appears in the config/ folder of the Klipper repository on GitHub. Sample configs there give you the exact pin mappings and firmware settings for hundreds of printers.
Step 1: Flash Mainsail OS to the SD Card
Mainsail OS is a Raspberry Pi OS Lite image with the full Klipper stack preinstalled and configured. It is the quickest route for a first install.
- Download and open Raspberry Pi Imager on your computer.
- Click Choose Device and select your Pi model.
- Click Choose OS, then Other specific-purpose OS, then 3D printing, then Mainsail OS. Pick the Raspberry Pi build that matches your model.
- Click Choose Storage and select your microSD card.
- Click Next, then Edit Settings when asked about OS customization.
In the customization screen, set these values:
| Setting | Value |
|---|---|
| Hostname | mainsailos (or a name per printer, e.g. voron, ender3) |
| Username / Password | Your own. Avoid the old default pi / raspberry |
| Wi-Fi | Your SSID, password, and country code |
| Services tab | Enable SSH with password authentication |
Write the card, insert it into the Pi, and power it on. First boot takes 2 to 4 minutes. Wired Ethernet is more stable than Wi-Fi for long prints, so use it when you can.
Alternative: Install with KIAUH
If you already run Raspberry Pi OS Lite, install the stack with the Klipper Installation And Update Helper (KIAUH):
sudo apt update && sudo apt install git -y
cd ~ && git clone https://github.com/dw-0/kiauh.git
./kiauh/kiauh.sh
In the menu, choose Install, then install Klipper, Moonraker, and Mainsail in that order. Accept the defaults unless you run several printers on one Pi.
Step 2: Connect to Mainsail and SSH
Open a browser on any device on the same network and go to:
http://mainsailos.local
If the hostname does not resolve, find the Pi’s IP address in your router’s client list and use that instead. You will see the Mainsail dashboard, probably with a red “MCU not connected” error. That is expected because the mainboard has no Klipper firmware yet.
Open a terminal and connect over SSH (replace the username and hostname with yours):
ssh youruser@mainsailos.local
Step 3: Build and Flash the Klipper Firmware for Your Mainboard
Klipper’s source lives in ~/klipper. Each board needs its own firmware build, and wrong settings here are the most common cause of failed installs.
Open the build menu
cd ~/klipper
make menuconfig
Choose settings for your board
Look at the header comment of your board’s sample file in ~/klipper/config/. It lists the exact values. The table below shows a typical example for a Creality-style STM32F103 board. Treat it as an illustration and always verify against your own board’s file.
| Menu option | Example value |
|---|---|
| Micro-controller Architecture | STMicroelectronics STM32 |
| Processor model | STM32F103 |
| Bootloader offset | 28KiB bootloader |
| Clock Reference | 8 MHz crystal |
| Communication interface | Serial (on USART1 PA10/PA9) |
Press Q, then Y to save. Build the firmware:
make clean
make
The output file is ~/klipper/out/klipper.bin (some boards use .uf2 or .hex).
Flash the firmware
Flashing varies by board family:
| Method | Boards | How |
|---|---|---|
| SD card | Creality, Anycubic, many Bigtreetech/Mellow boards | Copy klipper.bin to a FAT32 card, power-cycle the board |
| Make flash | Boards with a USB bootloader (DFU, HID) | make flash FLASH_DEVICE=<device> |
| UF2 drag-and-drop | RP2040 boards | Hold BOOTSEL, copy klipper.uf2 to the mounted drive |
| avrdude | ATmega2560 (RAMPS, older boards) | make flash FLASH_DEVICE=/dev/ttyUSB0 |
SD card flashing rules:
- Format the card as FAT32 (32 GB or smaller works best).
- Rename the file to something unique each time, such as
klipper-0112.bin. Many bootloaders ignore a filename they have already flashed. - Insert the card, power-cycle the printer, wait about 30 seconds, then remove the card.
Copy the file from the Pi to your computer with scp:
scp youruser@mainsailos.local:~/klipper/out/klipper.bin ./klipper-0112.bin
Step 4: Find the Serial ID of Your MCU
Connect the printer to the Pi with the USB cable, power on the printer, and run:
ls /dev/serial/by-id/*
You should see a path like this:
/dev/serial/by-id/usb-Klipper_stm32f103xe_36FFD...-if00
Copy it exactly. If the command says “No such file or directory”, the firmware did not flash, the USB cable is power-only, or the board settings in menuconfig were wrong. Re-check those three things in that order.
Step 5: Write Your First printer.cfg
In Mainsail, open the Machine tab (the file list on the left) and edit printer.cfg. Mainsail OS places the file at ~/printer_data/config/printer.cfg.
The example below targets a Cartesian bed-slinger with an Ender 3-style 4.2.2 board and a direct Z endstop. Pin names are board-specific. Copy pins from your own board’s sample config in ~/klipper/config/ and use this file as a structural template.
[include mainsail.cfg]

[mcu]
serial: /dev/serial/by-id/REPLACE_WITH_YOUR_ID

[printer]
kinematics: cartesian
max_velocity: 300
max_accel: 3000
max_z_velocity: 5
max_z_accel: 100

[stepper_x]
step_pin: PC2
dir_pin: PB9
enable_pin: !PC3
microsteps: 16
rotation_distance: 40
endstop_pin: ^PA5
position_endstop: 0
position_max: 235
homing_speed: 50

[stepper_y]
step_pin: PB8
dir_pin: PB7
enable_pin: !PC3
microsteps: 16
rotation_distance: 40
endstop_pin: ^PA6
position_endstop: 0
position_max: 235
homing_speed: 50

[stepper_z]
step_pin: PB6
dir_pin: !PB5
enable_pin: !PC3
microsteps: 16
rotation_distance: 8
endstop_pin: ^PA7
position_endstop: 0.0
position_max: 250

[extruder]
step_pin: PB4
dir_pin: PB3
enable_pin: !PC3
microsteps: 16
rotation_distance: 33.683
nozzle_diameter: 0.400
filament_diameter: 1.750
heater_pin: PA1
sensor_type: EPCOS 100K B57560G104F
sensor_pin: PC5
control: pid
pid_Kp: 21.527
pid_Ki: 1.063
pid_Kd: 108.982
min_temp: 0
max_temp: 250

[heater_bed]
heater_pin: PA2
sensor_type: EPCOS 100K B57560G104F
sensor_pin: PC4
control: pid
pid_Kp: 54.027
pid_Ki: 0.770
pid_Kd: 948.182
min_temp: 0
max_temp: 130

[heater_fan hotend_fan]
pin: PC0
heater: extruder
heater_temp: 50.0

[fan]
pin: PA0
What the key lines do:
[include mainsail.cfg]loads the macros and settings Mainsail needs (PAUSE,RESUME,CANCEL_PRINT, the virtual SD card). Without it, Mainsail will not print files.rotation_distancereplaces Marlin’s steps-per-mm. For belts, it equals belt pitch times pulley teeth (2 mm × 20 teeth = 40). For an 8 mm lead screw, it is 8.- The
!prefix inverts a pin. The^prefix enables the internal pull-up. control: pidwith starting values is a placeholder. You will tune it in Step 7.
Click Save & Restart. Mainsail should change from “Error” to “Ready.” If it shows an error, read the message at the top of the dashboard. Klipper reports the exact line and key that caused it.
Step 6: First Power-On Checks (Do These Before Printing)
Run each test from the Mainsail console and confirm the result. Keep a finger near the power switch for the first movement tests.
| Test | Command | Expected result |
|---|---|---|
| Endstop state | QUERY_ENDSTOPS |
Reports open for all axes; manually press each endstop and re-run to confirm TRIGGERED |
| Motor direction | STEPPER_BUZZ STEPPER=stepper_x |
Motor oscillates smoothly; verify direction with G91 then small G1 X10 moves |
| Thermistors | Check Mainsail temperature panel | Hotend and bed read room temperature (roughly 20-25 °C) |
| Heater response | Set hotend to 50 °C | Temperature rises within seconds. If it falls or runs away, shut down and recheck wiring |
| Homing | G28 |
Each axis homes toward its endstop, then stops |
If an axis moves the wrong direction, add or remove the ! on its dir_pin. Do not swap motor cables.
Step 7: Calibrate PID and Save
Run PID tuning on both heaters at your typical printing temperatures:
PID_CALIBRATE HEATER=extruder TARGET=200
SAVE_CONFIG
PID_CALIBRATE HEATER=heater_bed TARGET=60
SAVE_CONFIG
SAVE_CONFIG writes results to an auto-generated block at the bottom of printer.cfg and restarts Klipper. Do not edit that block by hand.
Next, set your Z offset. With a mechanical Z endstop:
G28
Z_ENDSTOP_CALIBRATE
Use the paper test to lower the nozzle until it grips a sheet lightly, then run ACCEPT and SAVE_CONFIG.
Klipper vs. Marlin: What Changes
| Feature | Marlin | Klipper |
|---|---|---|
| Config changes | Edit source, recompile, reflash | Edit text file, restart (seconds) |
| Motion planning | On the printer’s MCU | On the Raspberry Pi |
| Max practical acceleration | Limited by MCU speed | Limited by frame and motors |
| Pressure advance | Linear Advance (limited tuning) | Pressure Advance with full tuning workflow |
| Input shaping | Supported on newer builds | Built in; calibrated with an ADXL345 accelerometer |
| Web UI | Third-party (OctoPrint) | Mainsail or Fluidd, integrated |
| Hardware needed | Mainboard only | Mainboard plus a Pi |
Mainsail vs. Fluidd
| Mainsail | Fluidd | |
|---|---|---|
| Interface style | Clean, widget-based dashboard | Compact, data-dense layout |
| Included in Mainsail OS | Yes | No (separate image or KIAUH install) |
| Theme options | Multiple built-in themes | Multiple built-in themes |
| Backend | Moonraker | Moonraker |
| Best for | Beginners wanting a polished default | Users who like denser panels |
Both use the same backend. You can switch later without touching printer.cfg.
Real-World Use Cases
- Speeding up a stock Ender 3: Users commonly raise print acceleration from Marlin’s conservative defaults to 3,000-5,000 mm/s² once Pressure Advance and Input Shaper are tuned, cutting print time noticeably without large quality loss.
- Voron and CoreXY builds: Klipper is the standard firmware on Voron printers. Its kinematics support CoreXY, CoreXZ, Delta, and CoreXY with quad gantry leveling (
QUAD_GANTRY_LEVEL). - Print farms: One Pi per printer, each with a unique hostname, lets you manage fleets from a browser. Update Manager in Mainsail keeps every unit on the same Klipper and Moonraker versions.
- Remote monitoring: The preinstalled
crowsnestwebcam service streams video into the Mainsail dashboard. Connect a USB camera and print from anywhere on your network. - Fast iteration on tuning: Because config edits take seconds, you can compare retraction, pressure advance, and temperatures across test prints in a single afternoon.
Next Tuning Steps
Once the printer produces a good first layer, work through these in order:
- Pressure Advance: Print a tower and find the cleanest corner.
SET_VELOCITY_LIMIT SQUARE_CORNER_VELOCITY=1 ACCEL=500
TUNING_TOWER COMMAND=SET_PRESSURE_ADVANCE PARAMETER=ADVANCE START=0 FACTOR=.005
Typical starting ranges are 0.04-0.10 for direct drive and 0.5-1.0 for Bowden setups. Add the winning value to [extruder] as pressure_advance: 0.XX.
- Input Shaper: Install an ADXL345 accelerometer, then run
SHAPER_CALIBRATE. Add the recommended shaper type and frequency to[input_shaper]. - Bed mesh: Add a probe and
[bed_mesh]if your bed is not flat. - Slicer start G-code: Use
PRINT_STARTmacros so your slicer passes temperatures into Klipper.
A minimal macro looks like this:
[gcode_macro PRINT_START]
gcode:
    {% set BED = params.BED|default(60)|float %}
    {% set EXTRUDER = params.EXTRUDER|default(200)|float %}
    M140 S{BED}
    M104 S{EXTRUDER - 50}
    G28
    M190 S{BED}
    M109 S{EXTRUDER}
In your slicer’s start G-code field, enter:
PRINT_START BED=[first_layer_bed_temperature] EXTRUDER=[first_layer_temperature]
(Placeholder syntax differs per slicer. This example uses PrusaSlicer/SuperSlicer-style variables.)
Troubleshooting Common Install Errors
| Error message | Likely cause | Fix |
|---|---|---|
Unable to open serial port |
Wrong or missing path in [mcu] |
Re-run ls /dev/serial/by-id/* and paste the exact path |
mcu 'mcu': Unable to connect |
Firmware not flashed, or wrong clock/bootloader settings | Rebuild with correct menuconfig values and reflash with a new filename |
Lost communication with MCU |
Weak power or bad USB cable | Use a short, shielded cable and a 3A+ supply |
Timer too close |
MCU overloaded by too many steps | Lower microstepping or reduce max velocity |
Heater extruder not heating at expected rate |
Loose heater/thermistor wiring or wrong PID | Check connections and re-run PID_CALIBRATE |
Option 'xxx' is not valid in section |
Typo or unsupported key | Match key names to the Klipper config reference |
Check live logs from SSH when an error is not obvious:
tail -f ~/printer_data/logs/klippy.log
sudo journalctl -u klipper -f
Restart services without rebooting:
sudo service klipper restart
sudo service moonraker restart
FAQ
Can I run Klipper on a Raspberry Pi Zero or Pi 3?
Yes. A Pi 3B+ and Pi Zero 2 W both run Klipper, Moonraker, and Mainsail for a single printer. A Pi 4 or Pi 5 gives headroom for webcams, input shaper calibration, and multiple printers.
Do I need to flash firmware to my printer board if I use Mainsail OS?
Yes. Mainsail OS installs the software on the Pi only. Your mainboard needs its own Klipper firmware build, because Klipper’s host and MCU software work as a pair.
Is Klipper better than Marlin?
Klipper offloads motion math to the Pi, which allows higher speeds and finer tuning tools such as Pressure Advance and Input Shaper. Marlin is simpler because it needs no extra computer. For printers where speed and tunability matter, Klipper is the stronger option.
Where is the Klipper config file located?
On Mainsail OS, printer.cfg sits in ~/printer_data/config/. Edit it from the Mainsail Machine tab, then click Save & Restart.


